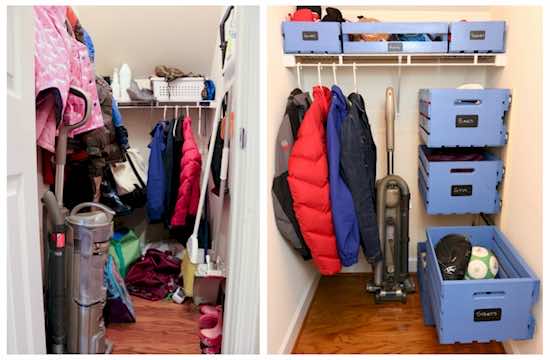
All of us have that embarrassing closet that is usually kept shut, even Monica (Friends) had one. Remember? This closet has all of the random items and is a complete decor disaster to say the least. Cleaning it out every once a year or twice doesn’t really help. So, if this is the problem you are facing; buckle up for we are about to solve it. Brad from “Fix This Build” has come up with an amazing DIY fix for this issue. Check out the project below and let us know what you think of it.
Required Items
- Miter saw
- Random Orbital Sander
- Cordless Drill
- 4-inch level
- Tape measure
- Spray paint/stain
- 4 large wooden crates
- 1 half wooden crate
- 2 small wooden crates
- 2 8-foot 1×4 pine furring strips
- 3 18-inch full extension drawer slides
- Chalkboard tags
- Chalkboard marker
- 1 5/8-inch wood screws
- Wall anchors
Step 1
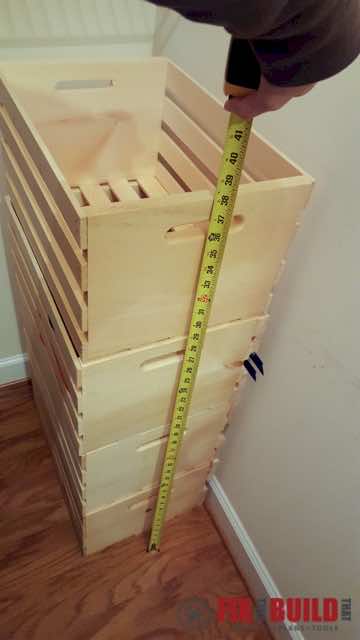
Clear out and declutter the area where you are planning to work. Use this opportunity to get rid of any unwanted item and optimize the overall project. Once you are done with that, figure out the number of crates that you’ll need by stacking them against the corner of the closer. Take into account the space that will be kept between each crate.
Step 2
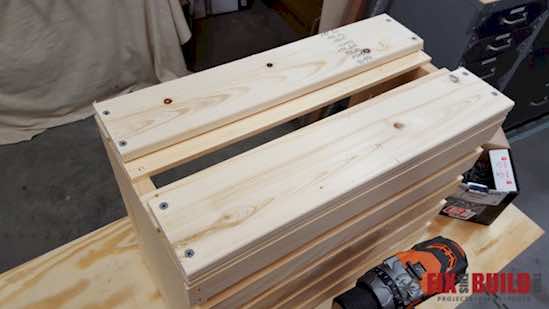
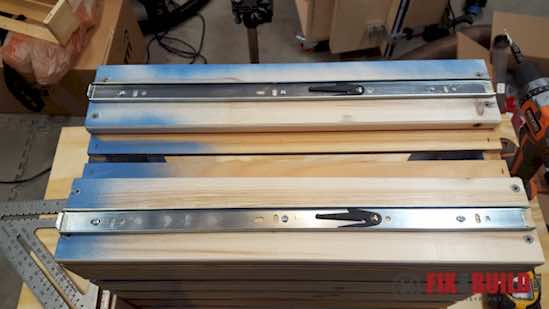
Reinforce one side of each crate so that mounting can be carried out safely. Make use of two 1×4 furring strips. Brad cut each strip into 18” pieces and then made use of screws to attach them.
Step 3
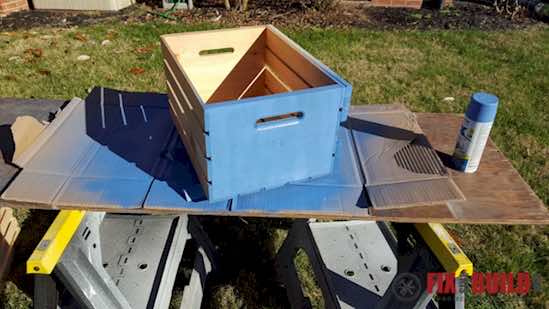
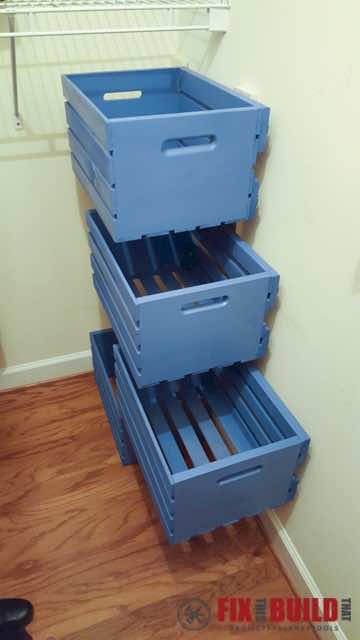
Once each crate has been fitted using mounting strips, you can take them out for paint.
Step 4
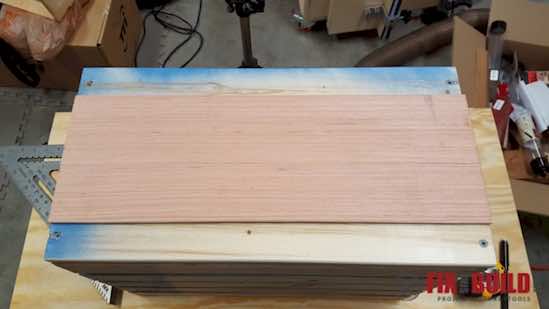
While you are waiting for the crates to dry, make use of plywood to create a spacing guide. This will allow you to mark and install the sliders at ideal positions. Brad used a 0.25” plywood and then cut it into an 18x6inch board. It was then placed on top of the two furring strips and centered 1.5” from the crate’s top. He proceeded to draw a line on each furring strip by making use of the top and bottom edges of the plywood board as a guide.
Step 5
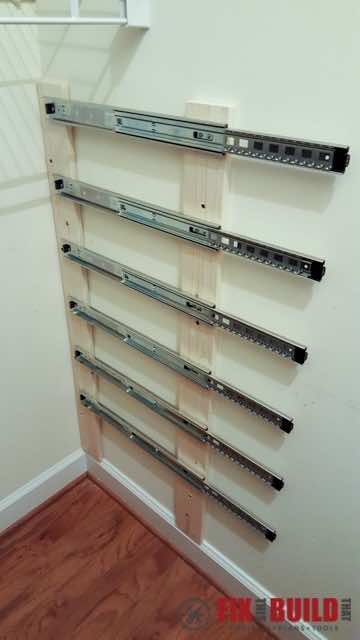
Start attaching the extension pieces. Each extender needs to be lined up so that its one end sits flush with the front of your crate and the mounting holes are directly over the penciled-in guideline. Secure the extenders to mark the completion of this step.
Step 6
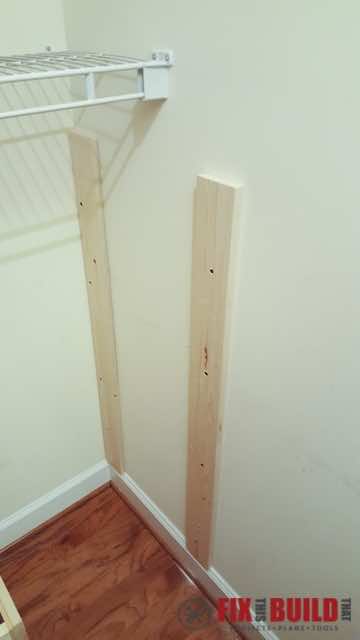
Step back into the closer and cut two more pieces of the furring strip into 39.5” sections and have them mounted with studs.
Step 7
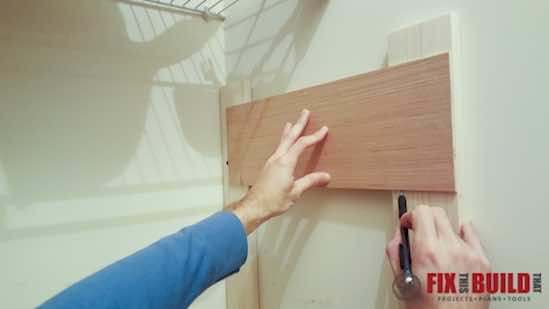
Using a plywood board, mark reference points for the installation of the second component of sliders. Each crate will have a 3” space in between them. The top of the first crate needs to be lined up with the top edge of each furring strip that has been secured to the wall.
Step 8
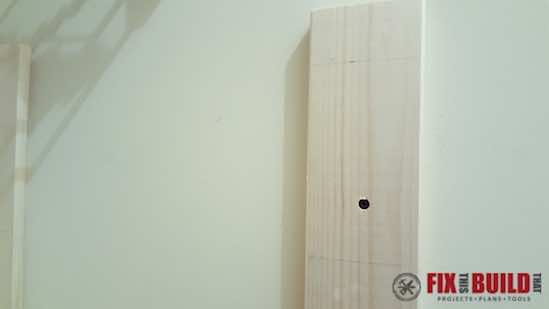
Draw guidelines by making use of the bottom and top of the plywood board. Line up the second piece of the slider next to the front of the outer furring strip and ensure that the mounting holes end up directly over the pencil guideline.
Step 9
Attach all sliders to their furring strips.
Step 10
Time to install those crates. Slide them on to the tracks and label them using chalkboard tags, thus designating them for the items that will be contained in them.
So, what do you think about this amazing DIY project? Do let us know in the comments section below.


