
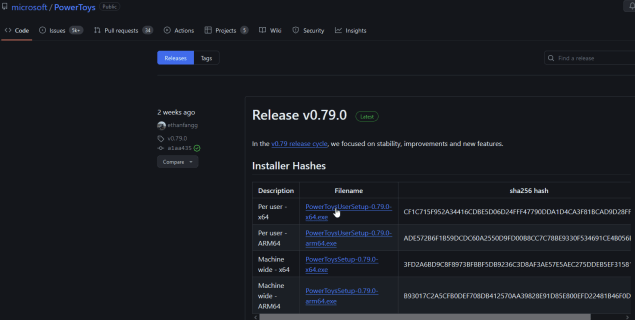
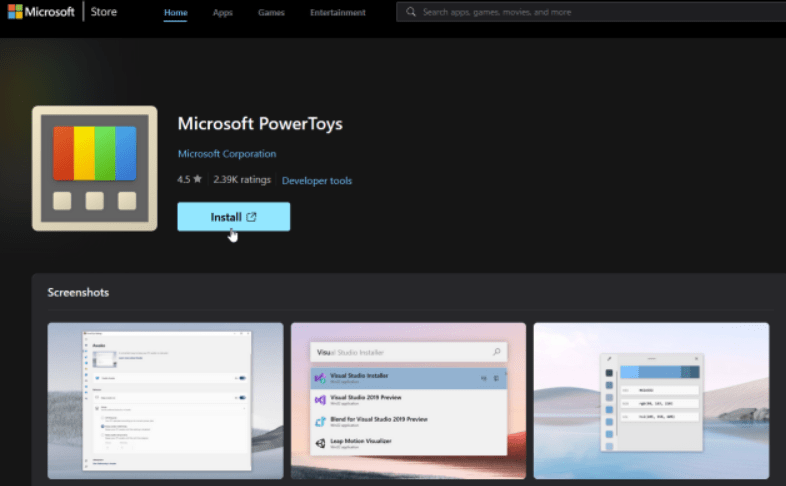
PowerToys, an innovative utility suite initially developed by Microsoft to augment productivity and customization for adept users on Windows 95, has been rejuvenated and revamped for both Windows 10 and Windows 11 platforms. Bursting with diverse tools, PowerToys offers functionalities such as Awake to forestall PC slumber, Fancy Zones for optimizing multitasking layouts, Keyboard Manager for key remapping, and PowerRename for batch file renaming tasks. The installation process for PowerToys traditionally involved fetching it from its GitHub repository. However, with the emergence of Windows 11 and the Microsoft Store, users now have the option to install it like any other desktop application. Simply head to the PowerToys storefront and initiate the installation process by clicking on the designated button. Post-installation, PowerToys can be readily accessed via the Windows System Tray. In cases where the icon isn’t immediately visible, users can conveniently launch it from the Start menu. Here are 10 Ways To Enhance Windows For Free Using PowerToys.
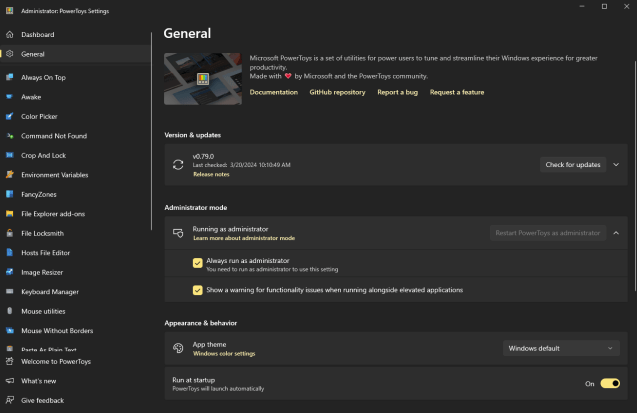
Within the PowerToys Settings interface, users are afforded the liberty to configure various preferences, including running PowerToys with elevated privileges, adjusting the window’s visual theme, and specifying startup behavior. Furthermore, users can opt for manual or automatic update checks, as Microsoft consistently enriches PowerToys with enhancements.
By default, all utilities within PowerToys are activated, yet users retain the flexibility to delve into each tool, acquaint themselves with its functionality, and customize settings to suit their preferences.
1. Always on Top: Pin Windows to Stay on Top
With the Always on Top tool, you can pin a specific app so that it’s always visible, even if you click on another window.
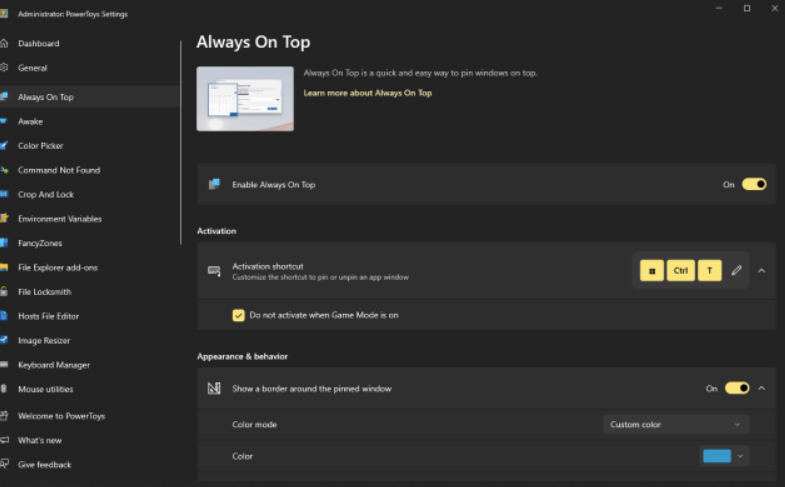
Click the Always on Top tab in PowerToys Settings. Here, you can change the activation shortcut, show a border around the pinned window, and modify the color and thickness of that border. You can also opt to play a sound when you pin a window and exclude specific apps from being pinned.
To use this tool, you need to open multiple windows. Select one window that you want to remain active and press the shortcut to trigger Always on Top. When you click other windows on the screen, the pinned window remains the active one. To unpin the window, press the activation shortcut again.

2. Awake: Keep Your PC From Falling Asleep
Use the Awake tool to more easily keep your computer awake without having to deal with the Power & sleep settings in Windows. This can be helpful when you’re running some type of automated task and don’t want your PC going to sleep (and otherwise don’t want to run it with the lid closed).
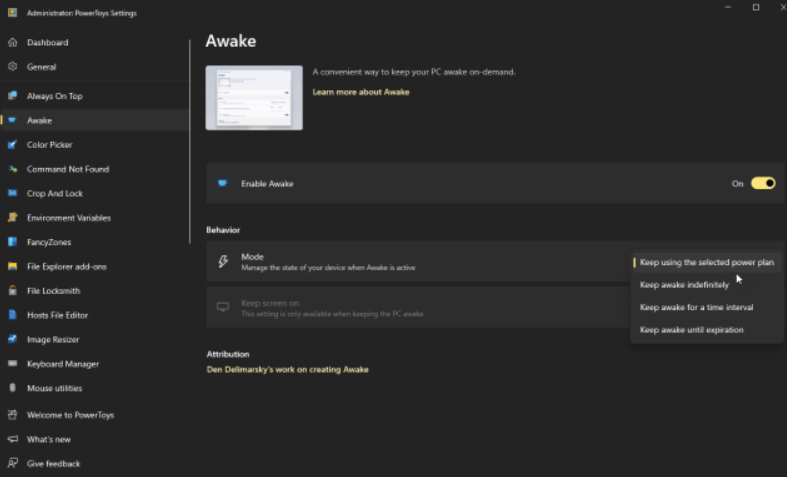
Click the Awake tab in PowerToys Settings and make sure Enable Awake is turned on. Click the Mode dropdown menu to select one of four options:
- Keep using the selected power plan.
- Keep awake indefinitely.
- Keep awake temporarily.
- Keep awake until expiration.
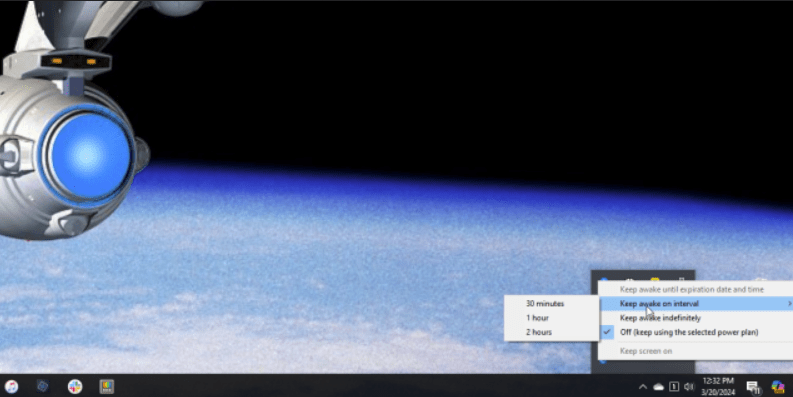
If you decide to keep your PC awake indefinitely, you’re asked to set how long it will stay awake. You can also choose to keep the screen on. When awake is enabled, you’ll see an icon for it in the Windows system tray. Right-click the icon to switch among the four modes at any time.
3. Color Picker: Capture On-Screen Color
Those of you who do any type of graphic work or web design may at times need to create a specific color. In some cases, you might spot just the right color on your screen and want to capture it for use elsewhere. You can, thanks to Color Picker.
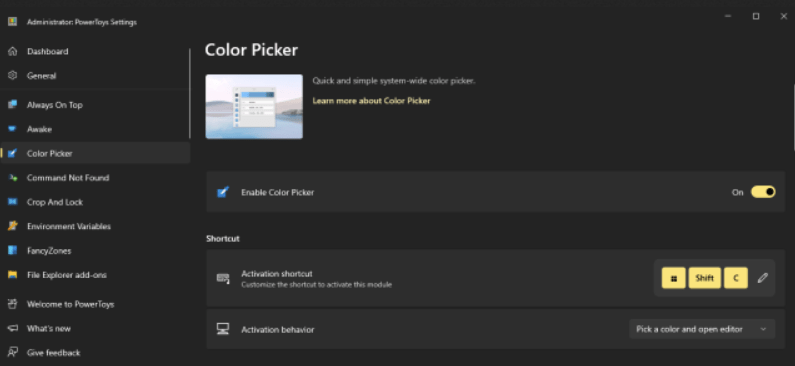
In the PowerToys Settings screen, choose Color Picker to change the default keyboard shortcut (Win + Shift + C) that activates the feature. You can also use the Activation behavior drop-down menu to choose the tool’s behavior when activated.
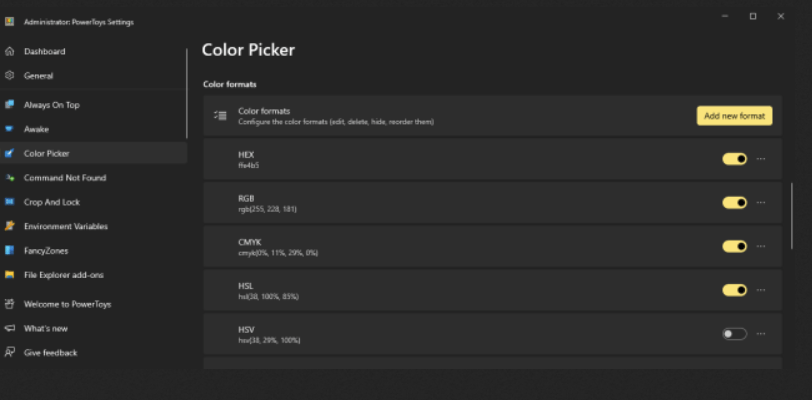
Next, pick the default color format and opt to show the name of the color. Scroll down further to select which color formats you want Color Picker to display, e.g., HEX, RGB, CMYK, etc.
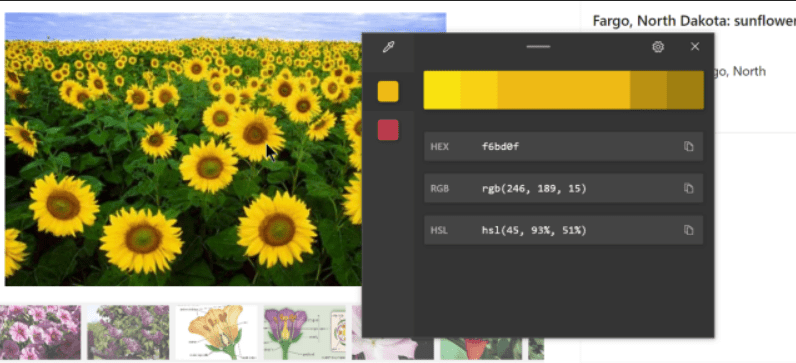
To use Color Picker, find a color on a website, image, app, or elsewhere that you wish to recreate. Press the designated shortcut to activate Color Picker and then hover your mouse over the color until you see its value. Click on the color, and the full tool will open to display the values for that color in all the formats you selected.
4. Crop and Lock: Create a Cropped Copy of a Window
Crop and Lock lets you crop any window on the screen or turn it into a small thumbnail. This gives you the ability to work with a more precisely-sized copy of a window. Select Crop and Lock in PowerToys to view or customize the keyboard shortcuts for creating a thumbnail or cropped window.
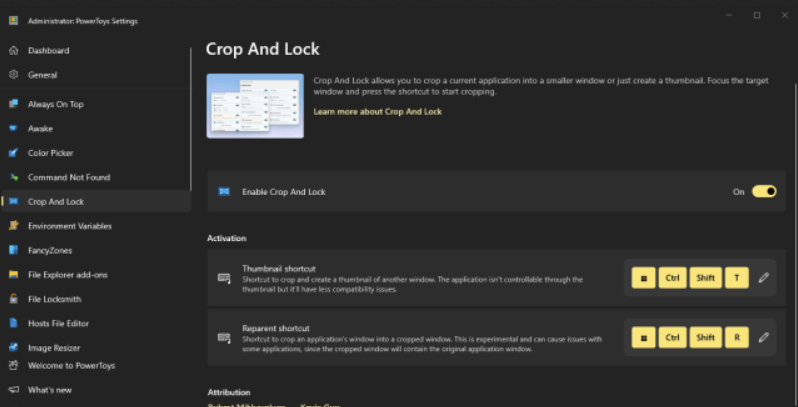
To see Crop and Lock in action, select a window you want to crop and press the keyboard shortcut. Use your mouse to draw the cropped area, which appears in red. A copy of the window opens in the cropped area. You can work with the new window as you normally would. When done, close the copy of the window.
5. Environment Variables: Add and Edit Environment Variables
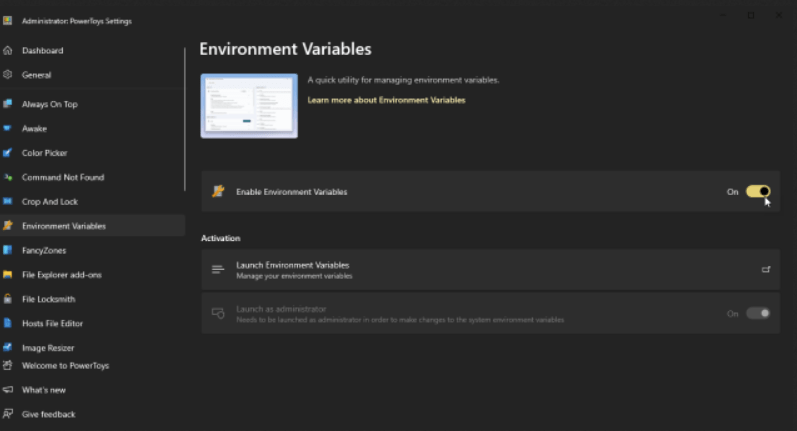
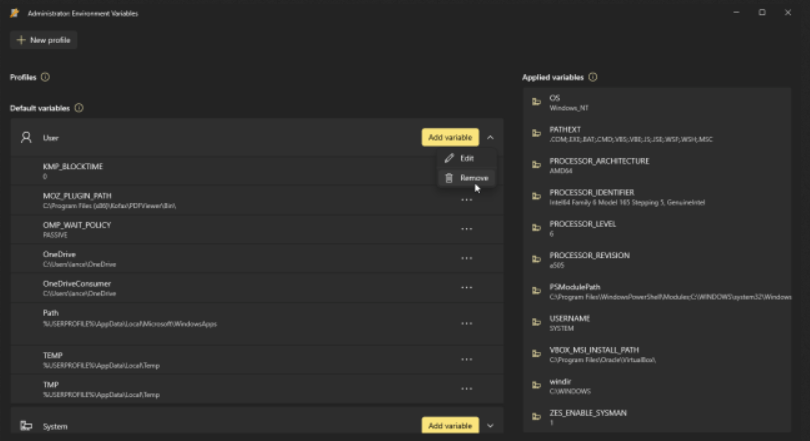
An environment variable is a value used by the operating system to more easily run certain applications and processes. For example, you might set a variable that contains a path statement to a program’s exe file so the OS knows where to find and run it. In PowerToys Settings, click Environment Variables and click Launch Environment Variables.
To add a new variable, click the Add Variable button next to User if you want to apply it only for the current user. Click the Add Variable button next to System if you want to apply it for the entire PC. Type the name and value and click Save.
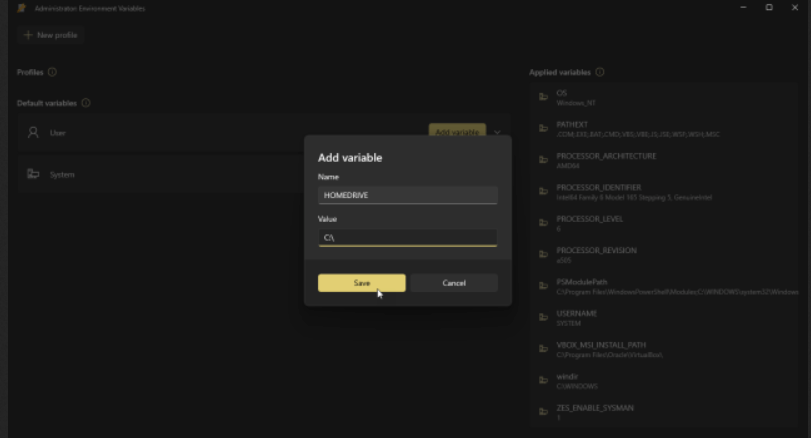
You can also edit or remove an existing variable. You might do this if you’ve uninstalled an application but the variable remains. Click the down arrow next to the Add Variable button. Click the ellipsis icon for the variable you wish to control and then select Edit or Remove.
6. FancyZones: Create Custom Desktop Layouts
The FancyZones tool helps you set up a specific screen layout ahead of time to make things easier. Then, all you need to do is pop windows into predefined zones.
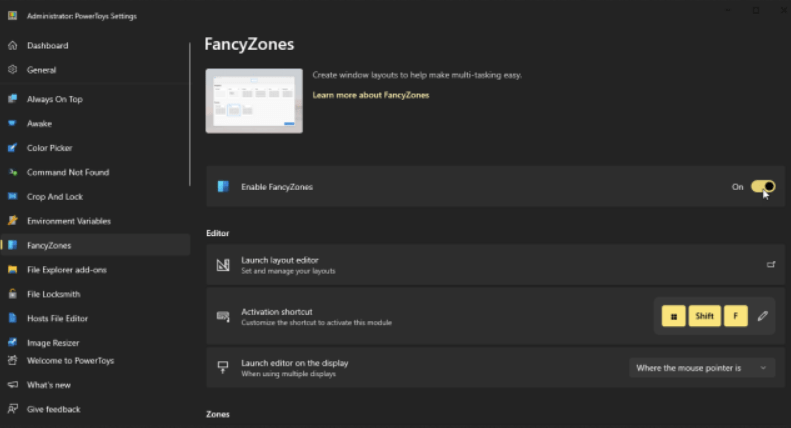
Click the FancyZones tab in PowerToys Settings and select Launch layout editor to set up your zones. Choose one of the default templates, such as columns, rows, or grid. You can then add or remove zones as you see fit. Alternatively, click Custom to build a layout from scratch. When done, click Apply.
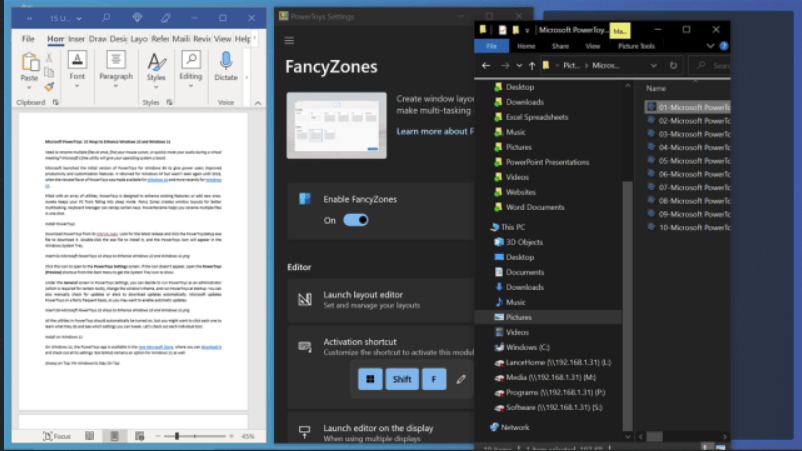
Other settings you can change include the activation shortcut, how the tool works with multiple displays, and how your zones look and behave. When you want to use the feature, use the activation shortcut, then plop the windows into the zones you created.
7. File Explorer add-ons: View More File Formats
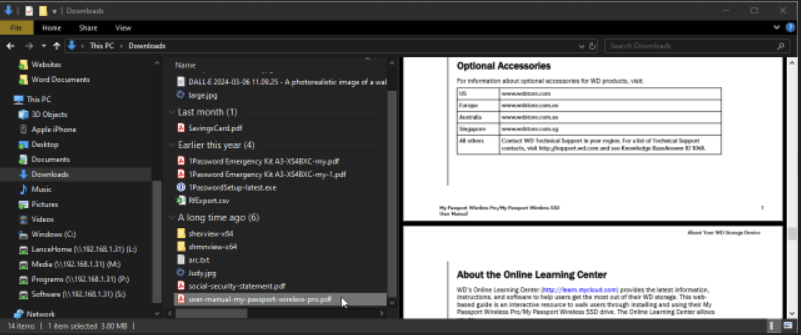
File Explorer can already display previews of images, audio, videos, and Microsoft Office files, but File Explorer add-ons in PowerToys will let you view Scalable Vector Graphics (.SVG) image files and Markdown (.MD) files. The tool also allows you to see the first 10 pages of a PDF file.
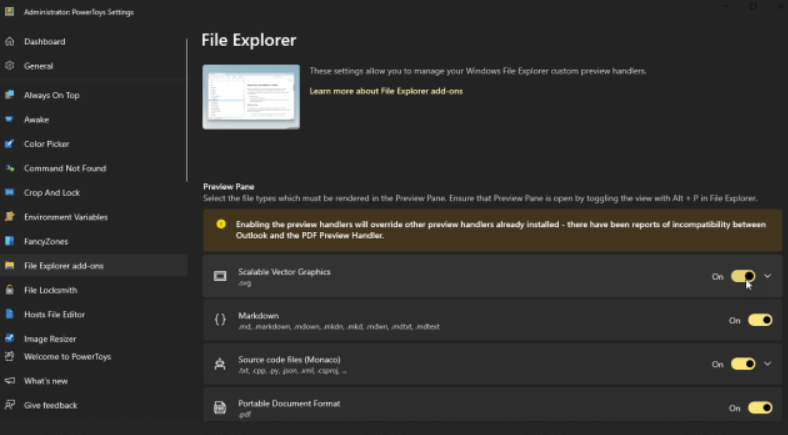
Open File Explorer add-ons in PowerToys Settings and switch on any file types that you want to be able to view. With this tool enabled, open File Explorer, click the View heading and then click the Preview pane. Now select your .SVG or .MD file to see it in the preview pane or choose a PDF to see its first 10 pages.
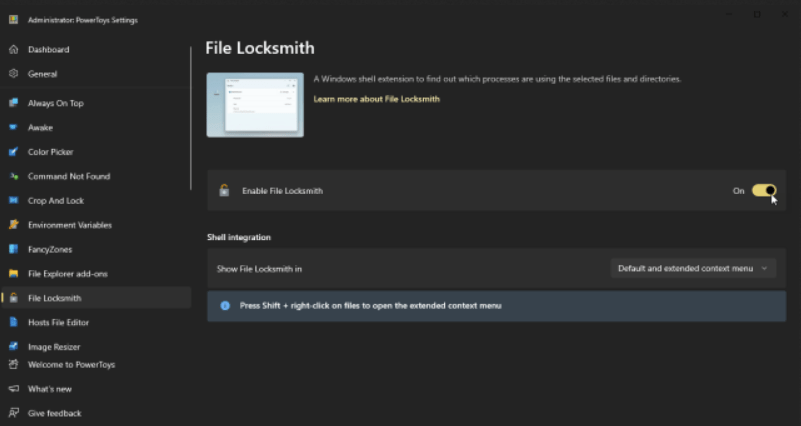
8. File LockSmith: See Which Processes Are Locking a File
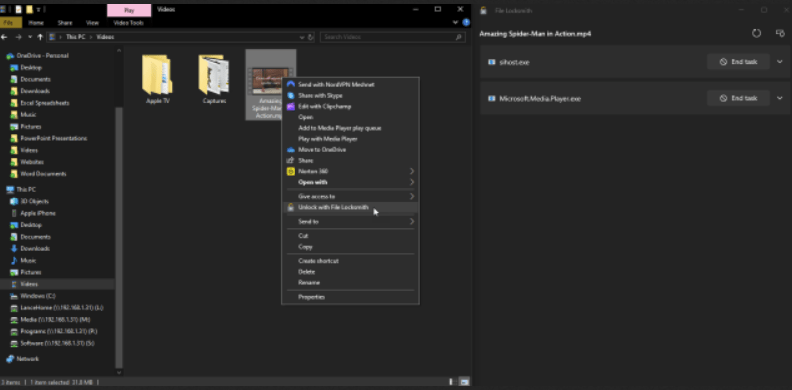
The next time a specific file seems to be locked, open File Explorer, right-click on the file, and select Unlock with File LockSmith from the popup menu. A File LockSmith window appears with the name of the file and the application currently keeping the file open.
Click the down arrow next to the End Task button to see more details, such as the process ID, name of the person using the file, and the path to the file. Click the End Task button to close the file and its associated application. If this is a file with editable content, such as a Word document, just make certain you’ve saved any changes before you close it.
9. Hosts File Editor: Change the IP Address for Certain Sites
Normally, matching an IP address with a website is a job handled by the DNS servers maintained by your internet provider. But sometimes you may want to change the default server if you’re troubleshooting a connection problem or need to access a certain website with a specific address.
One way to accomplish that is through the Windows Hosts file, and the PowerToys Hosts File Editor makes it easier to view and edit that file. Select Hosts File Editor in PowerToys Settings and choose Launch Hosts File Editor. Click the Accept button in response to the warning about altering the hosts file.
The file lists several entries already, which can be turned on if you wish to use them. Click the New entry button to add another one. Enter the IP address, name, and other details, then click Add. You can then browse to the site you added by name.
10. Image Resizer: Easily Resize Photos
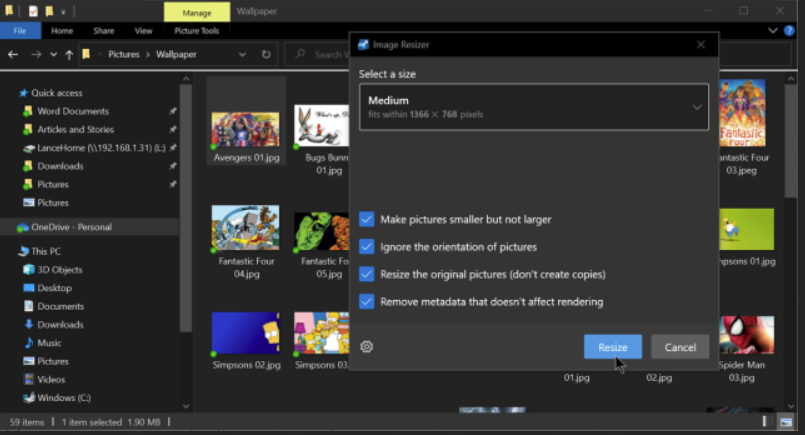
Sometimes a photo or graphic is too large to share via email. You can change the size through a dedicated image editor, but the PowerToys Image Resizer tool is more convenient. At the PowerToys Settings screen, select Image Resizer, then adjust the existing preset image sizes. You can also click the Add new size button to create new presets from scratch.
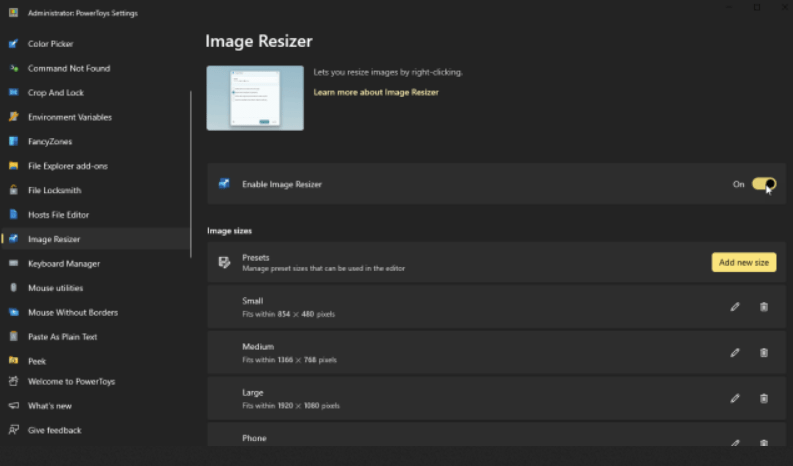
Now, when you want to resize an image, right-click the file in File Explorer and select the Resize picture command. You can choose the size you want to use, such as Small, Medium, Large, or Phone, or devise your own custom fit and click the Resize button to create a new, smaller image.
That concludes our list of 10 Ways To Enhance Windows For Free Using PowerToys. Stay tuned for more!
