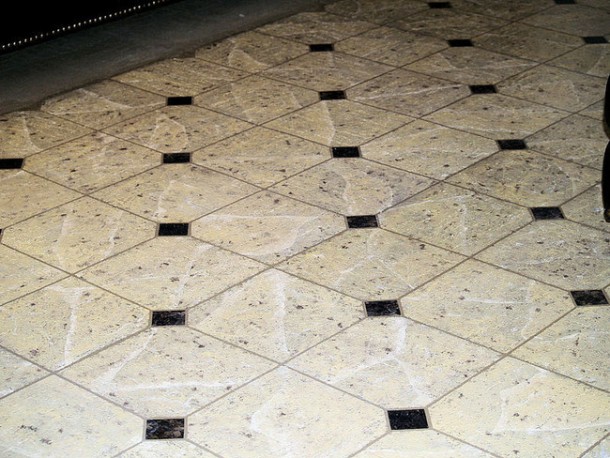
Are you one of those who wants to have a marble floor but can’t afford it? Welcome to the world of DIY. Our solution to the problem is brilliantly simple.
You paint the marble on!
The task is easier than you imagined actually.
Following is the list of items that you’ll require.
- Zinsser Alkyd enamel
- Cream, white, and dark brown acrylic paint
- Masking tape
- Contact paper
- Artist brush
- Torn pieces of copy paper
- Plastic grocery bags
- Polyurethane for flooring
Make sure that you clean the floor and remove any wax before you begin painting the base of Zinsser Alkyd enamel for ensuring that it sticks.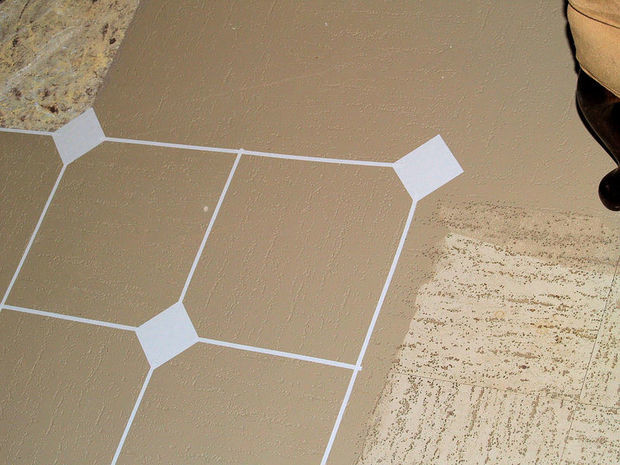
Here’s an example of what you would do on your actual floor. 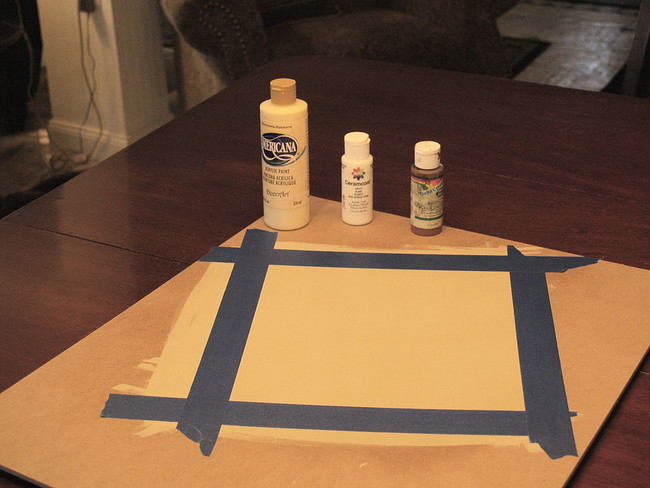
Tape off the tiles individually and cover the surrounding area with contact paper.
Now swirl the cream acrylic in random swooshes. (Make sure that you use a little less white acrylic). 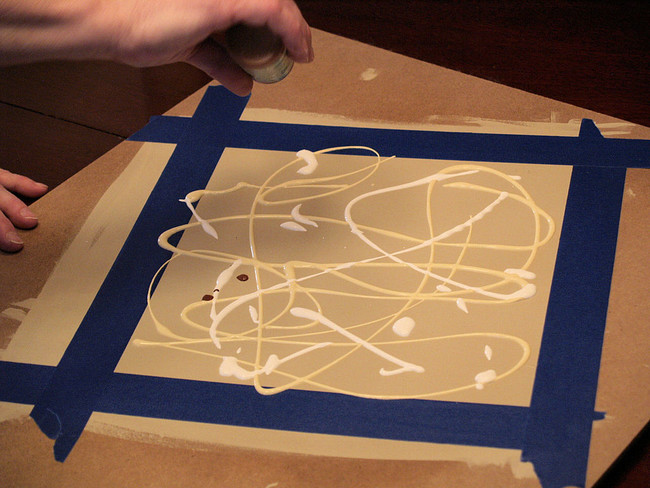
Impart some brown spots. 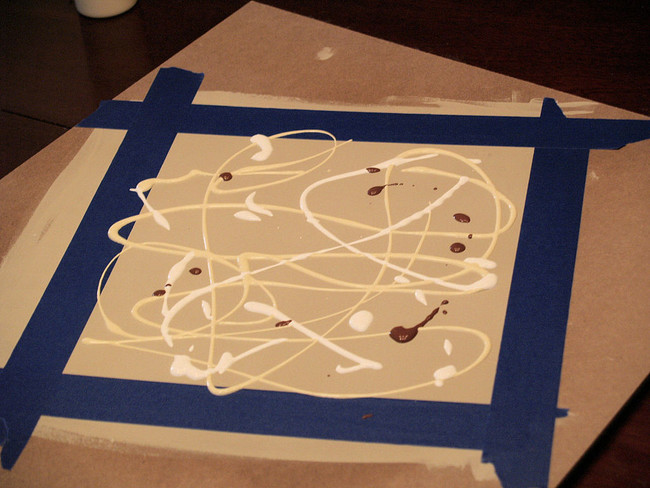
Grab hold of a plastic bag and trap some air inside it. 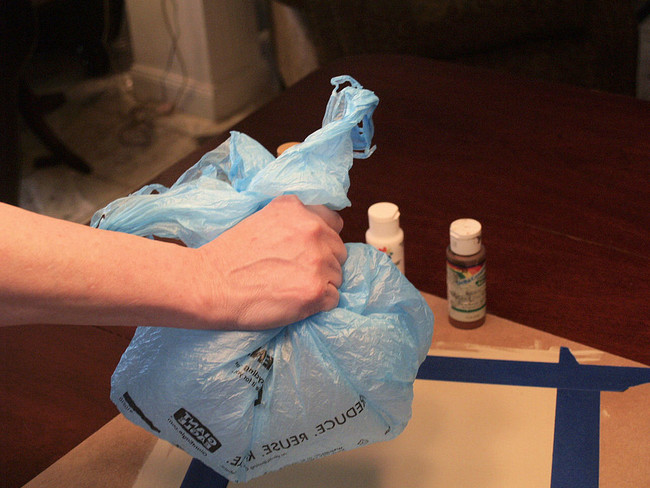
Smudge them all together – no dragging though, just pat the bag against the paint. 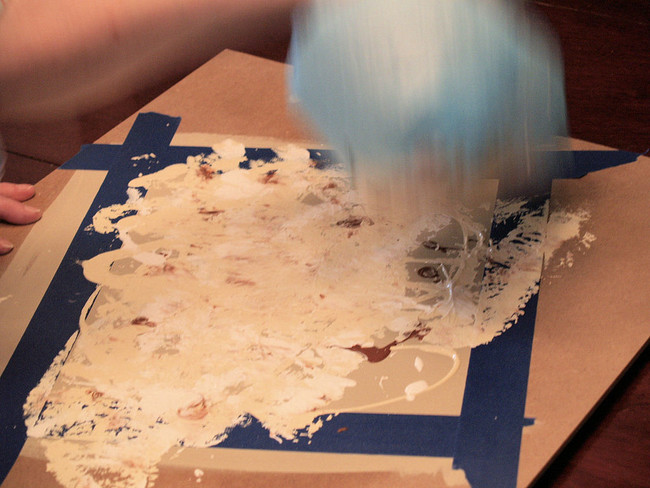
With the first layer still wet, create the marble-like veins! 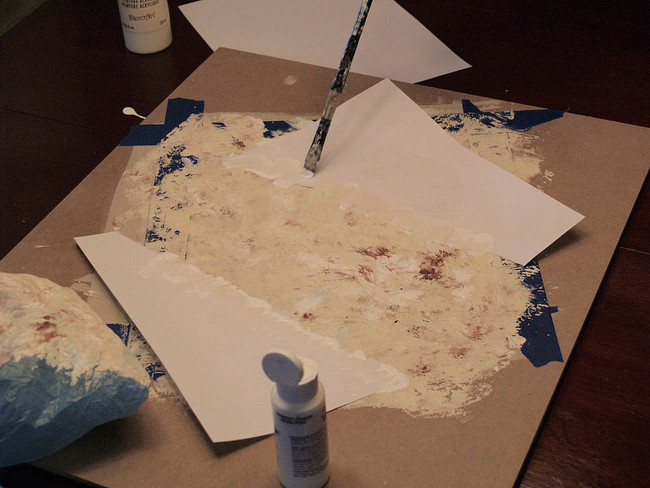
This can be achieved by making use of torn paper and squirting some white acrylic on the edge and then blending it into the tile along the edge.
Bear in mind that real marble tiles don’t look the same so you’ll have to vary the vein pattern for each of the painted tile as well. 
Once it dries, peel off the tape carefully. Now prepare the contact paper to move onto the next tile. 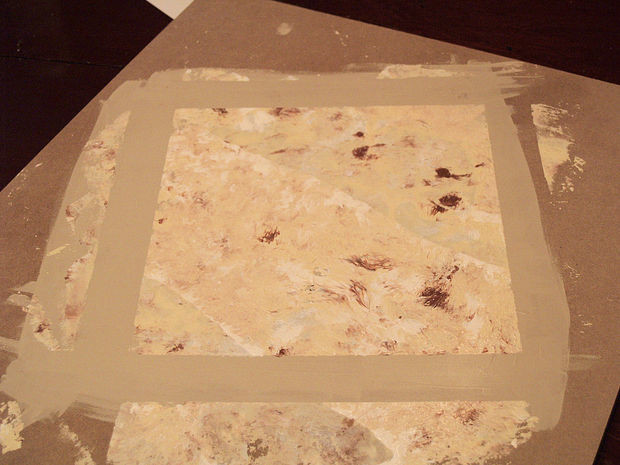
For small tiles, either paint them, or you can decoupage a printout. Followed by several coats of polyurethane to guard your hard work against wear and tear.
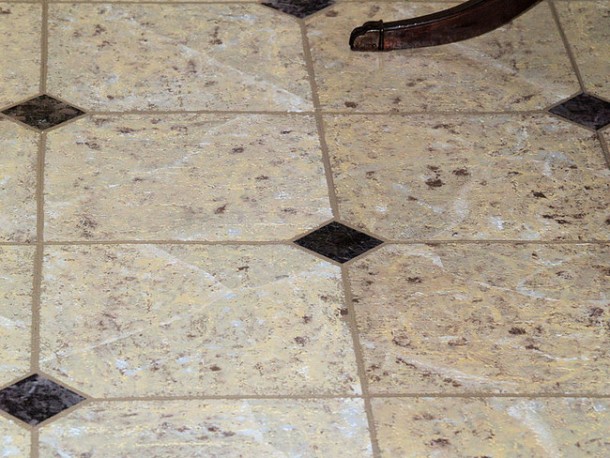

And done! A bit of creativity has saved you from spending a lot of cash on the floor.