There was a time when using air conditioning was considered to be a thing best left for the elite. This is not the case anymore, as almost every house and every office has an A/C running almost 24/7. Now the question beckons, when the technology is so commonplace why isn’t the expertise? Why do you have to call a professional even for the smallest of problems when you have so working air-conditioners around you all the time? Today Wonderful Engineering will let you into some of the tips and tricks that can help you troubleshoot your A/C all by yourself.
Check Your Thermostat
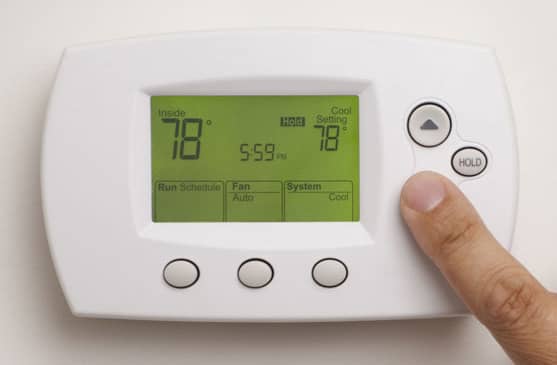
So the first thing to do when your A/C stops cooling/heating is to check its thermostat. A/C thermostats are usually battery-operated, and once the battery runs out, the power to your air conditioner or heater also shuts off. So make sure that your thermostat is fully operational and the connections to the wall are good.
Check Fuses and Reset Buttons
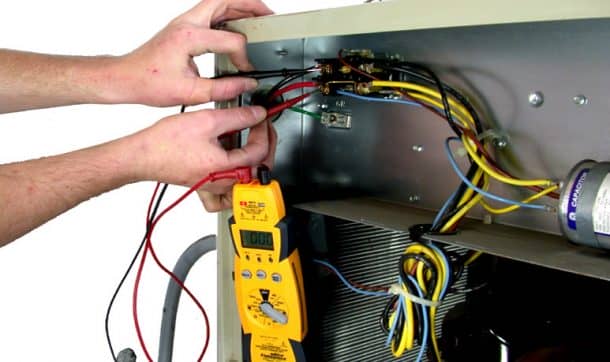
These fuses and breakers are installed as a safety feature. When the A/C unit is under a heavy load, it can trip an electrical breaker or burn a fuse in order to save greater damage. So if your A/C display is off and no amount of flipping the power switch makes it beep, go and check the breaker box to look for any burned out fuses. You can also use a multimeter to check the fuses inside the disconnect block which usually lies next to your air conditioner.
Now after you have identified the bummed fuse, all is not hunky dory. A burned fuse means that there is most probably an underlying electrical problem with your home’s main box. Call an electrician immediately, so that he can identify and fix the problem, thus saving your appliances from being fried.
After everything is fixed, turn your breaker back on. It takes usually 15 to 20 minutes for your air conditioner to get up and running after the tripping of a circuit breaker. So be patient and wait for at least 20 minutes before trying something else.
Check and Replace Filters
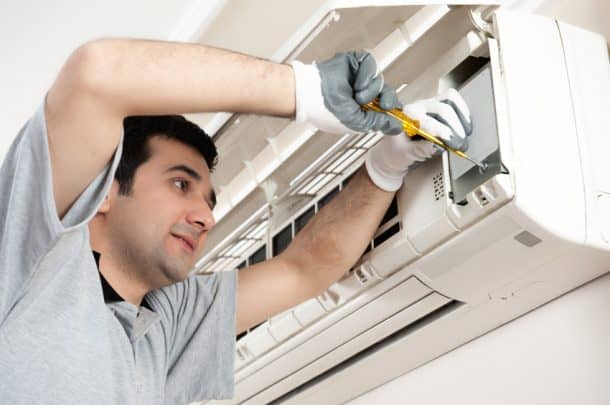
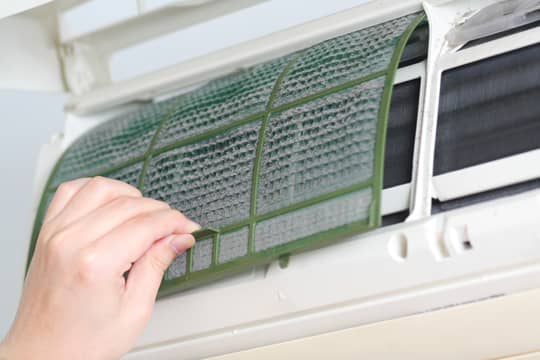
A clean filter is necessary to ensure your air conditioner’s well-being. It is good to check your filters at least once a month during the summers. And in case you own any kind of pets, have a habit of leaving the windows and doors open or have dust/pollen allergies, you may need to change your filter more often.
A blocked or dirty air condenser can also cause all sorts of problems. So always make sure the vents of your air conditioner are clear of any kind of debris and ensure that the area surrounding your A/C unit has good air flow.
Check the Access Panel
Still not working eh? Don’t panic just yet. Go and turn off the power at the main box to the A/C unit. Open the electrical access panel on the air conditioner, which is usually located where the electrical power comes into the unit. Check for any kinds of infestations, rodent nests and wires that have been chewed or frayed.
Replace the Contactor
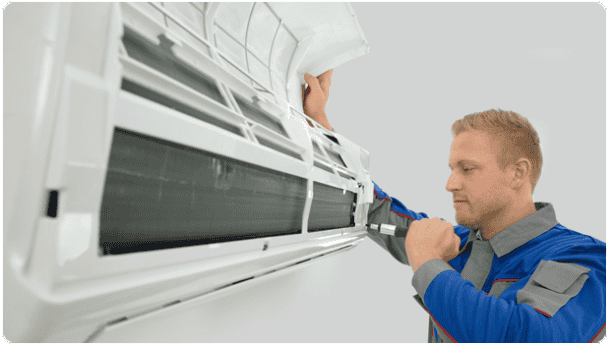
Okay if you still are not able to identify the problem, you need to get into more serious stuff. The contactor is a relay that converts the low-voltage signals coming from the thermostat into a signal powerful enough to switch on 220 volts of power. And of course, if your contactor is faulty, the A/C unit will go down. Luckily for you, they are very cheap and easy to replace. You can check the owner’s manual to locate the contactor and replacement model.
Replace the Electrical Capacitor
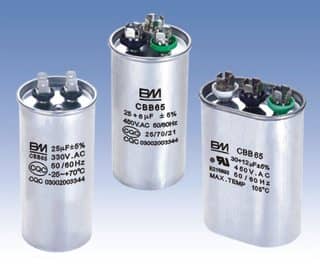
Electrical capacitors can wear out in any appliance as a result of electrical fluctuations. A Capacitor is used to store electricity and gives that extra juice when the compressor and fan are starting up. It has a secondary purpose of protecting the motor from damage due to fluctuating voltage. These capacitors are not made to last forever and can also go out without any apparent reason. So if you have a little know how about electrical repairs, you can take a screwdriver to discharge the dual start/run capacitor. This can be done by connecting its terminals to short it out, and then replacing the capacitor with a new one made for the make and model of your A/C. But usually, this requires opening up the A/C module, which is beyond most of the DIY skills of the people reading this article. In this case, you’ll just have to call the repairman.
Do More Research
With internet at your disposal, sky is the limit. You can find a ton of great information online about almost every make and type of air conditioners available. You can also find some great troubleshooting tips on manufacturer websites as well as on different message boards and blogs.
Do you have any more DIY repair tips you think we should know about?
Share them in the comments section below!


pune hadapsar
hi ac repair