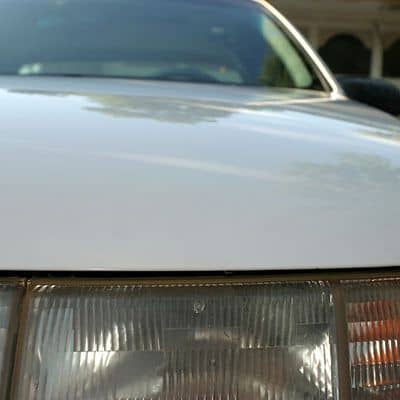
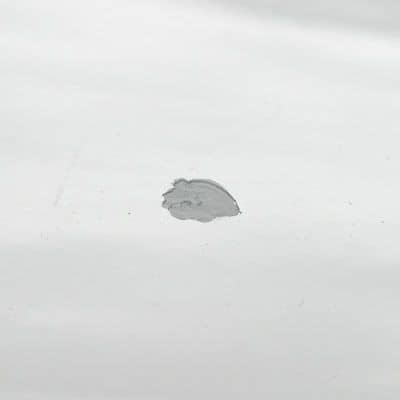
The stone chips on your car’s surface not only destroy’s the look of your car but also gives space for the rust to start its work. With some competence, you can make your car look much better without taking a trip to an expensive body shop. This will not make your car look like the showroom new one but it will still save the look of it.
Following are the steps that you need to follow to get the new look of your car.
Touch Up Kits
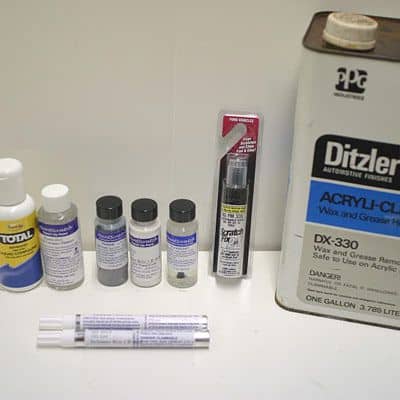
Duplicolor provides simple touch up kits which can be bought from any local auto parts store. There is also some more touch up kits and supplies available online. Some kits come with primer, color VIN matched pint, clear, paint thinner and a bottle of rubbing compound. These kits are much more expensive and have more steps to perform on a car, but they are indeed worth it.
Check The Door For Color Identification
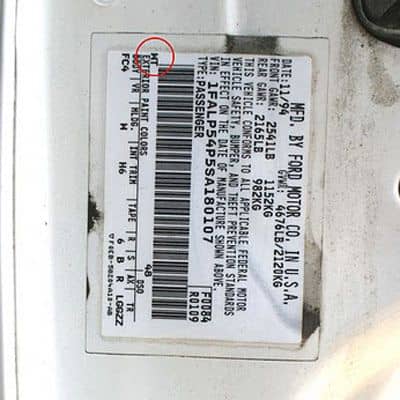
To make sure you get the correct shade of paint, the paint code of your vehicle needs to be known correctly. Most modern cars since 1983 have this information on a sticker on the door or elsewhere. To be sure of the match, the paint vendor might also need your VIN which is also on the door sticker and the VIN plate on the dash.
Correct Preparation
Preparation is the key to get good results. Very fine 1000-grit, 3M Wet or dry sandpaper, various craft sticks, cotton swabs, splinter tweezers, glue dots, various paper punches. All of these can be easily found at the local craft store.
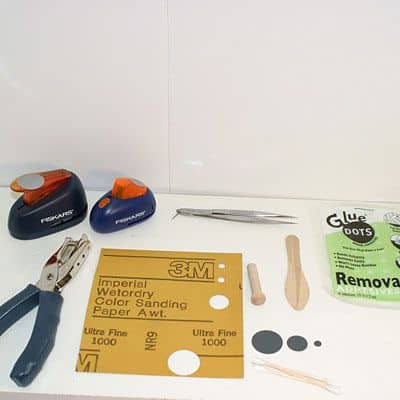
Preparing Your Sanders
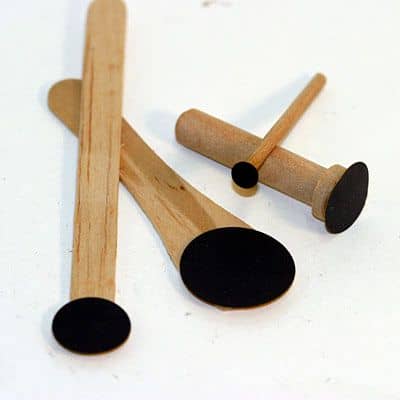
Keep standing outside the boundary of the chip to a minimum. Make use of punches to cut out small sandpaper circles. Glue the cutouts to the craft sticks and the dowels.
Wash The Car Properly
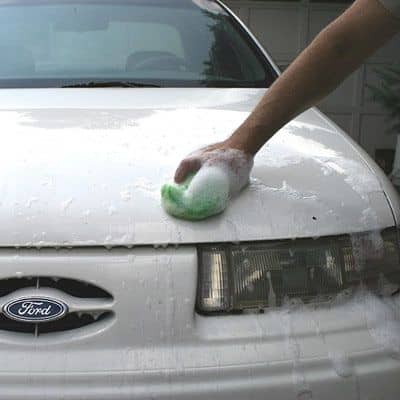
Give a nice wash to the car to get rid of any dirt with warm soapy water. Rinse thoroughly and then dry.
Remove Any Build Up On The Surface
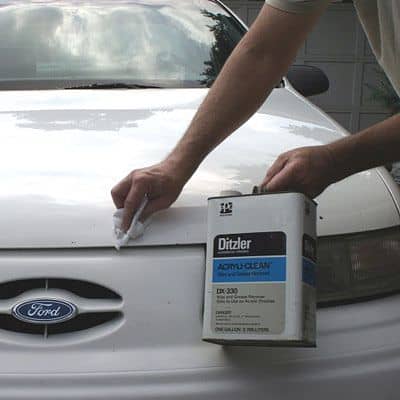
Clean the surface with Acryli-Clean Ditzler to remove any wax, grease, and silicon which can prevent the paint from adhering.
Filling The Small Chips
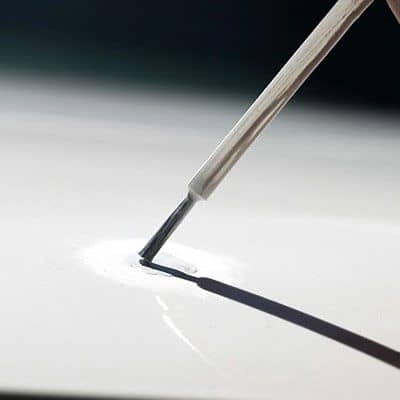
For very small chips the Duplicolor paint pen can be used. The small tip of the pen fills the voids easily. It is best to fill the surface so that some space for shrinkage can be allowed during drying. It is best to lift the hood while filling the paint since if it is horizontal, the paint will stay centered while drying.

For Medium Sized Chips
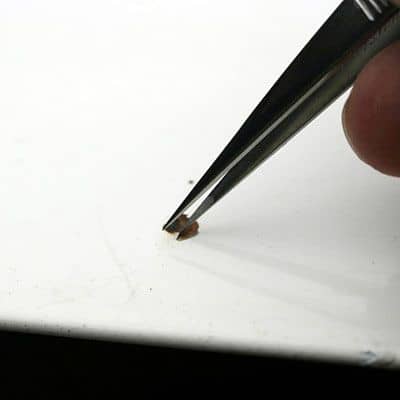
To fill the medium-sized chips a brush applicator is needed. The loose debris should be cleaned first and then paint it with sharp tip tweezers.
Applying The Primer
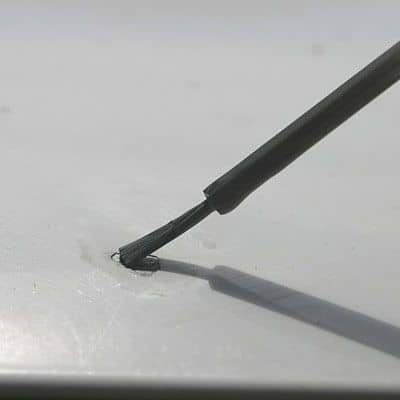
Apply the primer with the applicator brush. It is important to read and follow the instructions while applying. The results will vary depending on the level of skills, materials used, color and type of paint used.
Apply The Paint
After the application of primer, apply the paint. The amount of work needed on the paint here will be determined by the applicator.

For Large Sized Chips
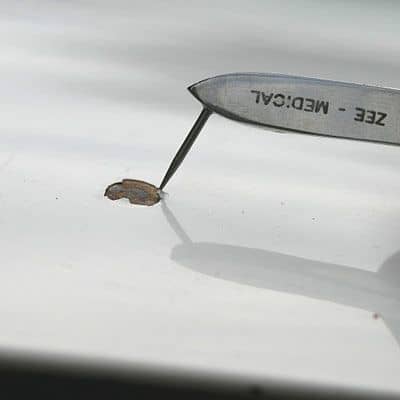
On the large chips which also have a rust colony growing, use the splinter tweezers or a fine dental pick to flake off any loose paint. This needs to be done carefully since a small chip can be turned into a large one very easily. If the loose paint is not removed, the paint will eventually flake off and will spoil the effort done on the repair.
Remove The Rust
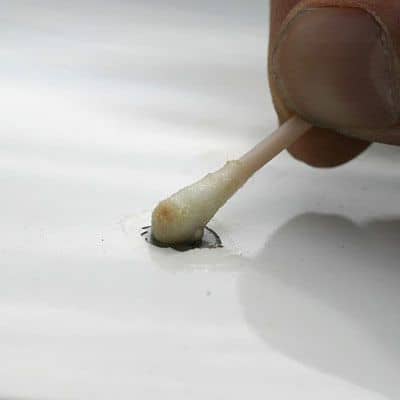
Use CLR to dissolve and remove the rust. Repeat the application until the swap comes out clean. Rinse the area with Isopropyl Alcohol. If you don’t remove all the rust, the paint won’t be applied properly and the rust will keep spreading under the paint.
Sand The Edges
Sand the edges carefully until “feathered”. Sharp edges will make the repair look very obvious. The curved surface of the wood axle gives a slight depression tapering up to the paint surface. Perform this step when the paint is dry since the water can start rusting process.
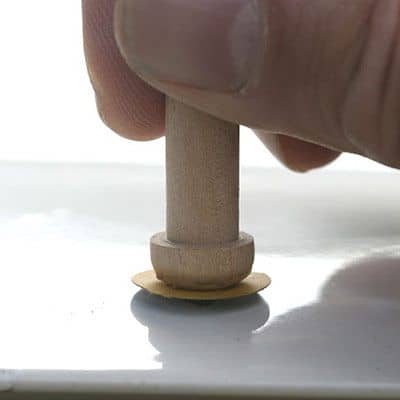
Apply Leverage
Use the end of the flat wood sand stick and apply more leverage. However, do not sand outward a lot or you will sand through the clear coat and will make the spot much noticeable.
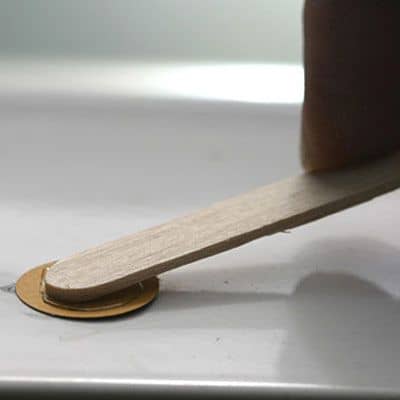
Apply The Primer
Apply the primer from the center to the outward edge. Do not go beyond the edge. In case you do, use a cotton swab with lacquer thinner to wipe up the excess.
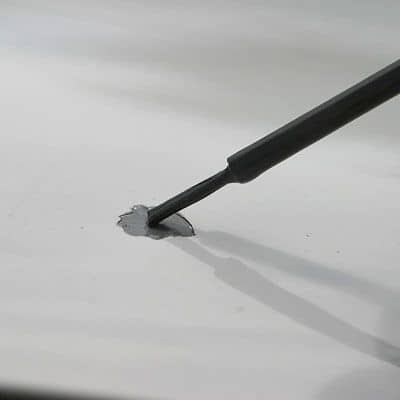
Allow The Primer To Dry
Let the primer dry to do the full cure. The time it takes to dry depends on the temperature as well.
Wet Sanding
After the primer has dried, use wet sand to prepare the primer base for paint. Do not sand too far from the center or you will sand through the surrounding paint. It is especially bad to sand through the clear coat if the car is dark or metallic colored.
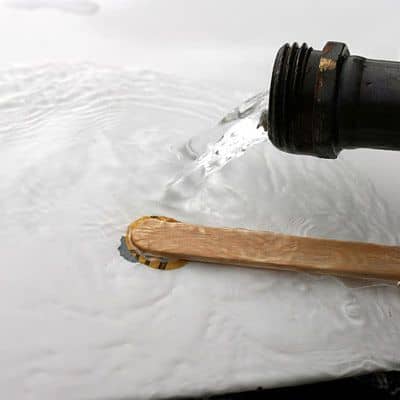
Use Steady Hands
Painting a large chip with a brush is not going to give you a factory finish. Use steady hands and a sparing amount of paint on the brush to make it work best.
Add A Clear Coat
Repeat the wet sanding until it is smooth. Brush a little on some of the supplied clear coat. Just like paint, it is also lacquer based, thin and dries quickly.
Building Up Layers
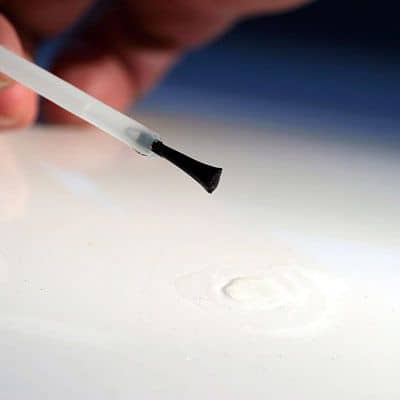
Sand the spot again with a primer with a 360 grit either wet or dry. Stay within the repair zone by keeping the circle trimmed to the radius of the stick. After repainting and drying, wet sand again with 1000 grit. Clear coat and wet sand again. This process will build up the new layers of paint to the original surface.
Use Rubbing Compound
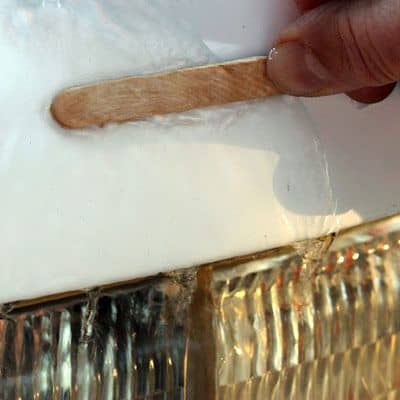
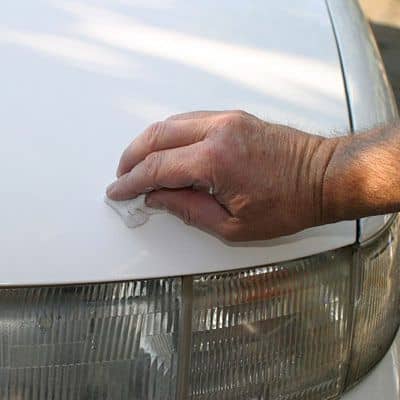
Once the area is set with the rest of the paint, take the rubbing compound and polish the area with a clean, cotton cloth. You can use TopCoat F11 Master-Craftsman Polish & Sealer for better result and also comes with high quality microfiber towels. Wash the area to clean all the rubbing compound, rinse and dry. Let the repair stay in the car for at least a week before waxing the car.
All Set To Go!
The Duplicolor paint is the easiest to be used on a small chip. The kit from Paint Scratcher is good for larger chips but it requires some more effort to get the work done. This process will paint the chips but it is always better to get your car painted from a professional paint shop if you can afford it.
