
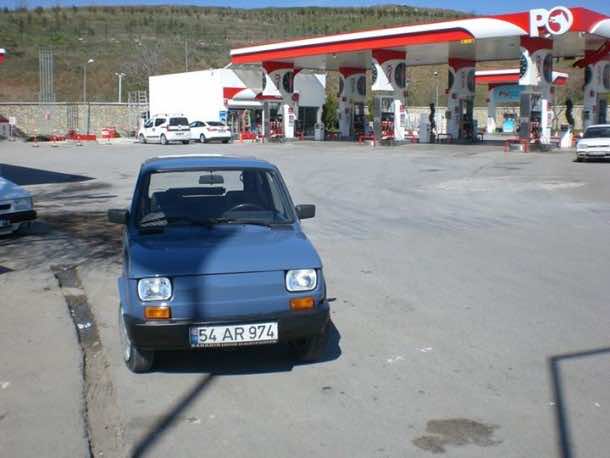
What follows is one man’s crusade of transforming his Fiat into an electric car.
He decided to convert a regular vehicle into an EV and bought the cheapest option ($1,000) he had available; 1990 Fiat 126 Bis.

126 Bis was the right choice because it is a simple vehicle to convert, since installation of steering wheel system or electrical pump isn’t required.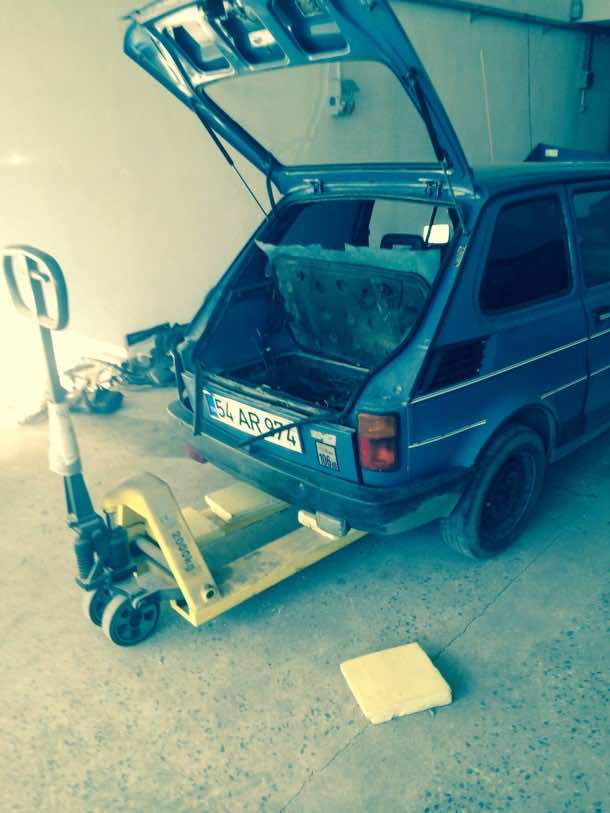

The radiator and fan had to be removed because the car is water-cooled.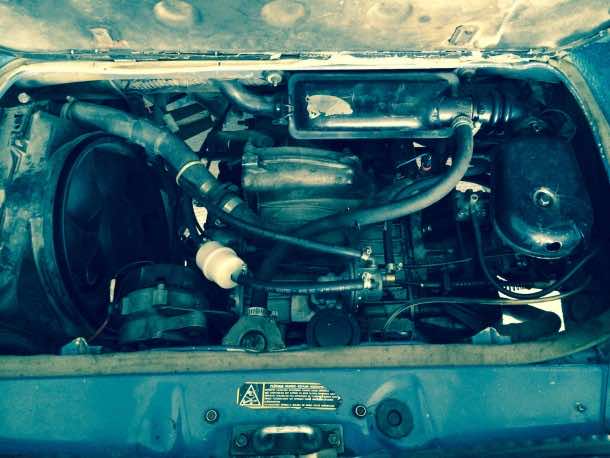
The dismantling of accumulator, heating and cooling system, engine and fuel tank begins. The back seats were taken out as well for making way for the accumulators.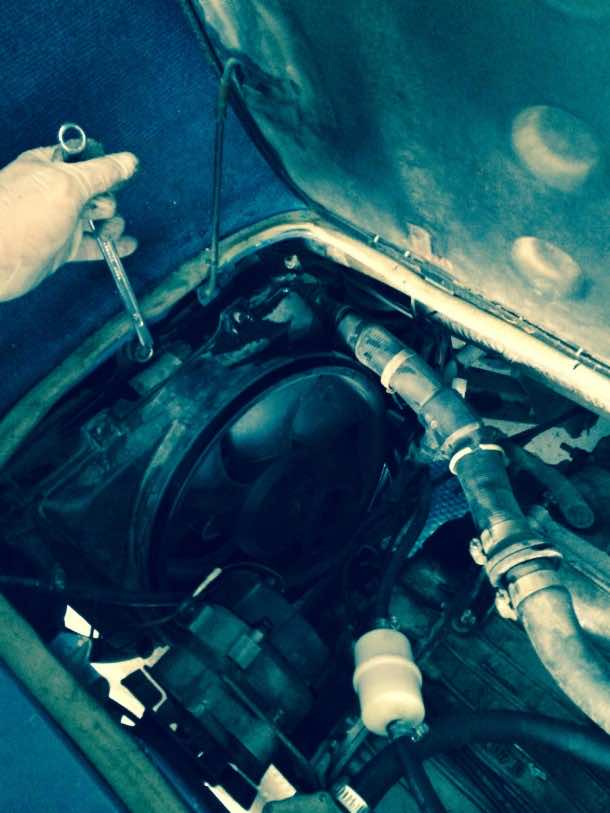
M8 screws tying up the engine to gearbox were unscrewed and the starting motor was removed. This was followed by disassembling the rear of body and removing it along with the engine.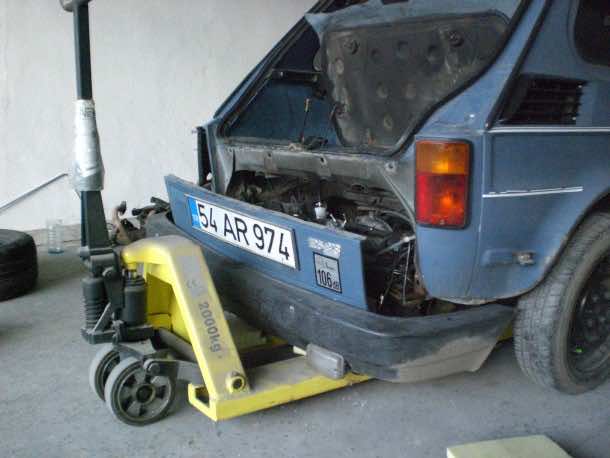
The fuel, water and electric connections were dismantled before the engine was removed.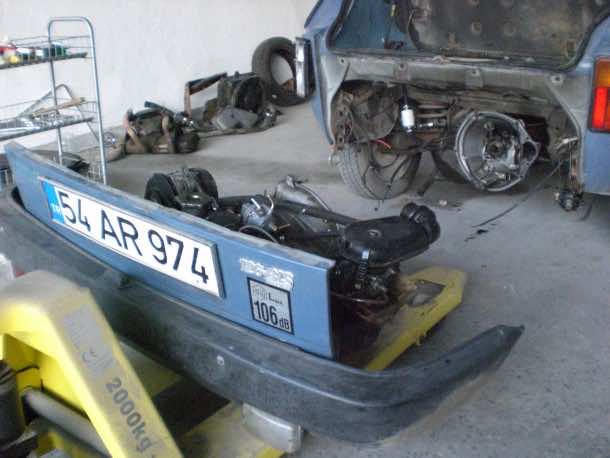
He opted to keep the gearbox and clutch for the time being with plans of making some modifications following the driving tests.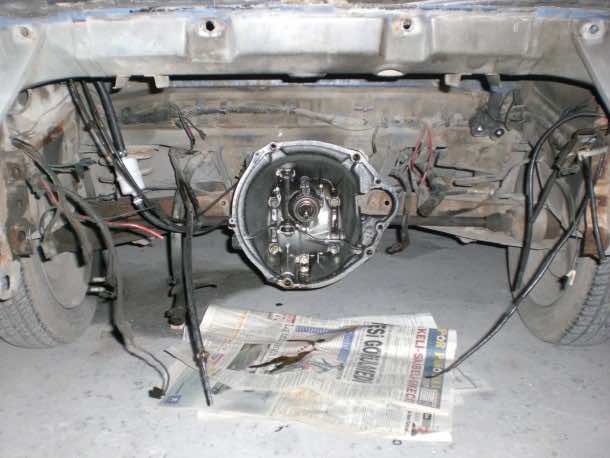
Fiat 126Bis engine.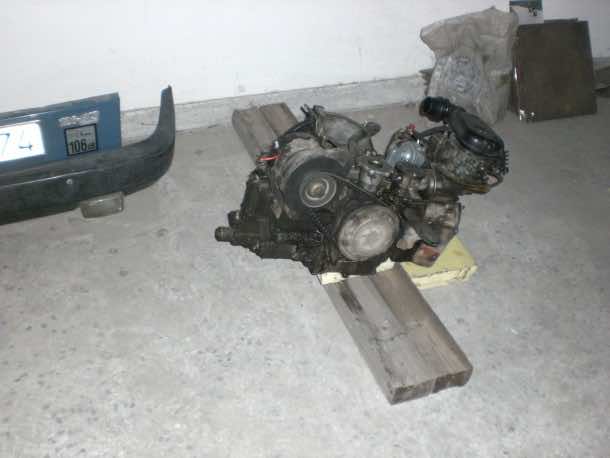
He then dismounted the clutch lining, clutch pressure plate assembly and flywheel from the engine.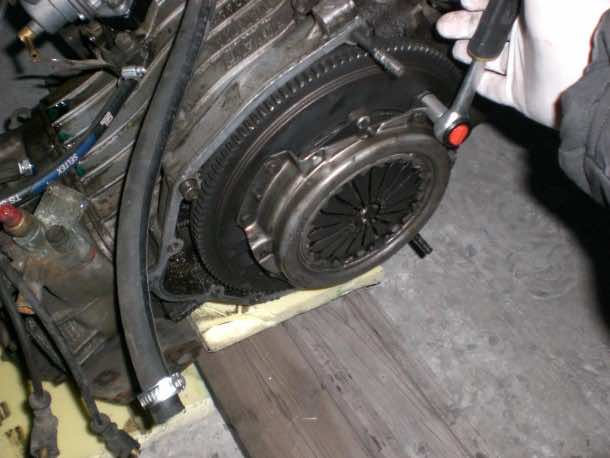
Clutch lining, clutch pressure plate mechanism and flywheel.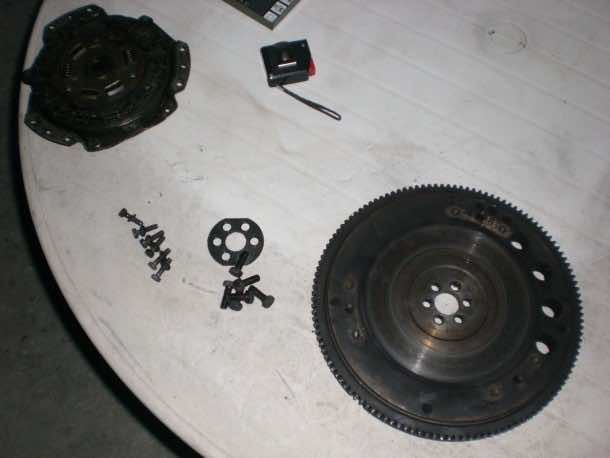
After having spent time with measurements, he designed the new transmission mounting bracket.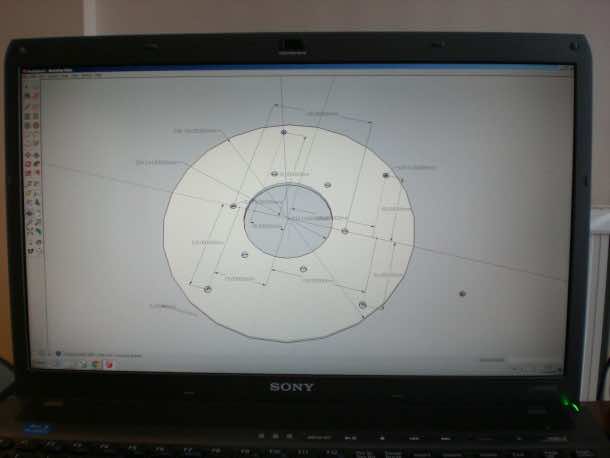
Check out the CNC cut.
The piece to attach the flywheel.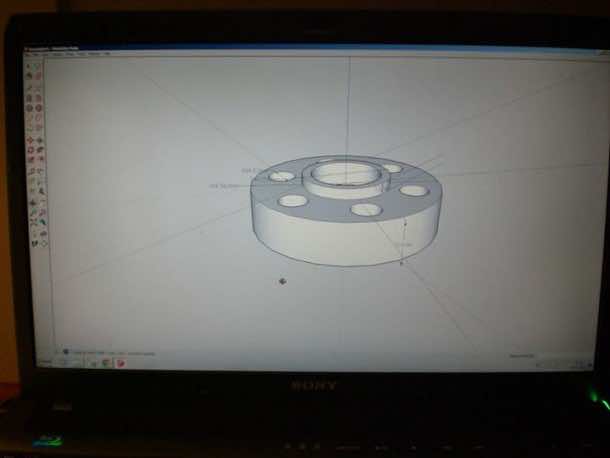
The CNC cut.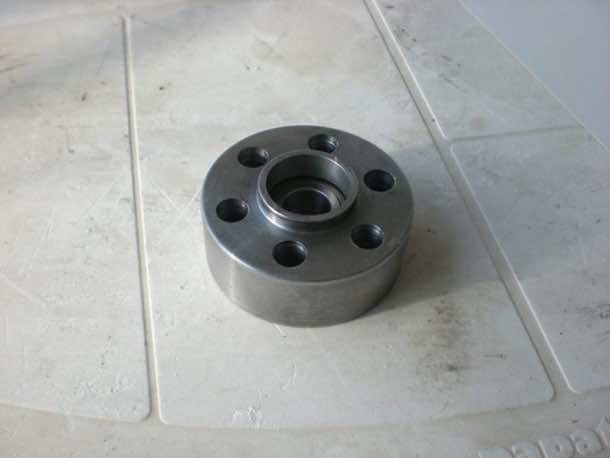
Electric engine connection piece.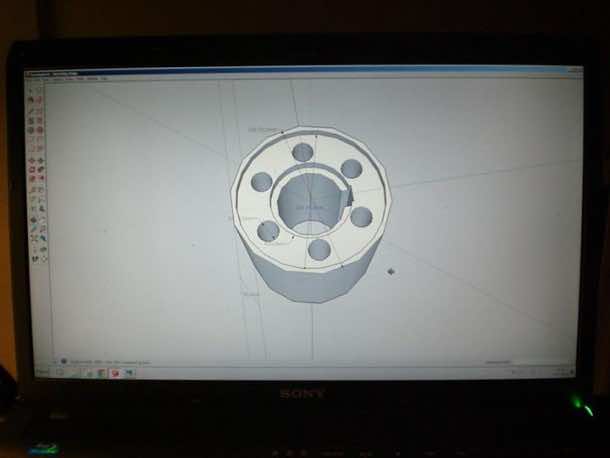
The CNC cut.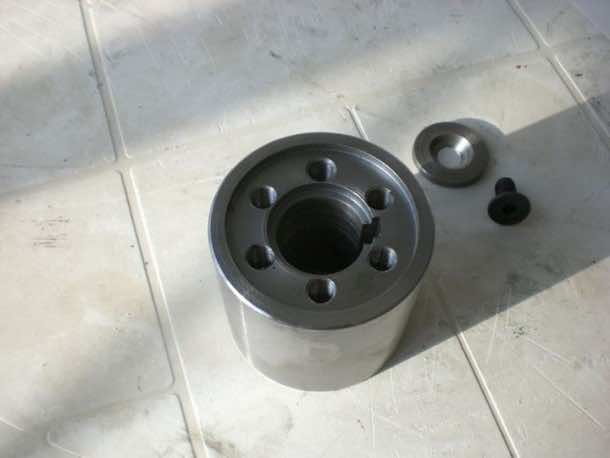
Spacer design.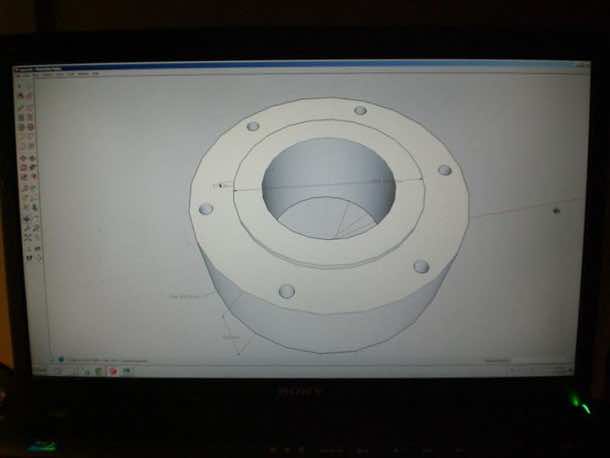
It’s cutout.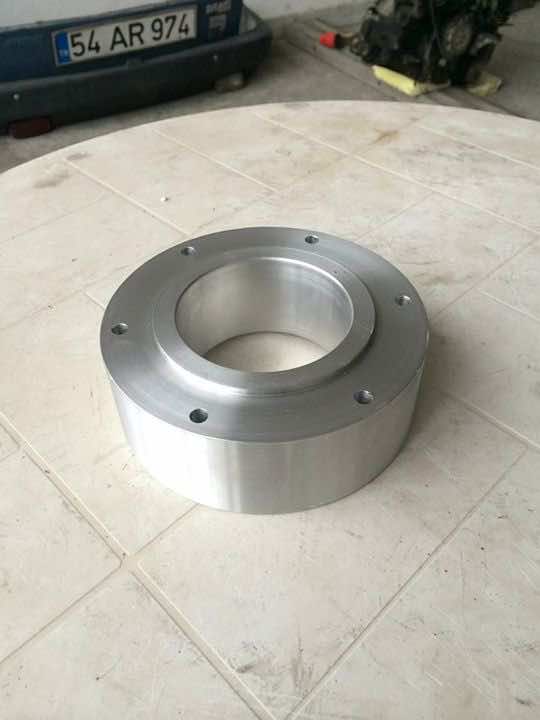

This is a temporary assembly for ensuring that pieces fit together and for carrying out a few tests.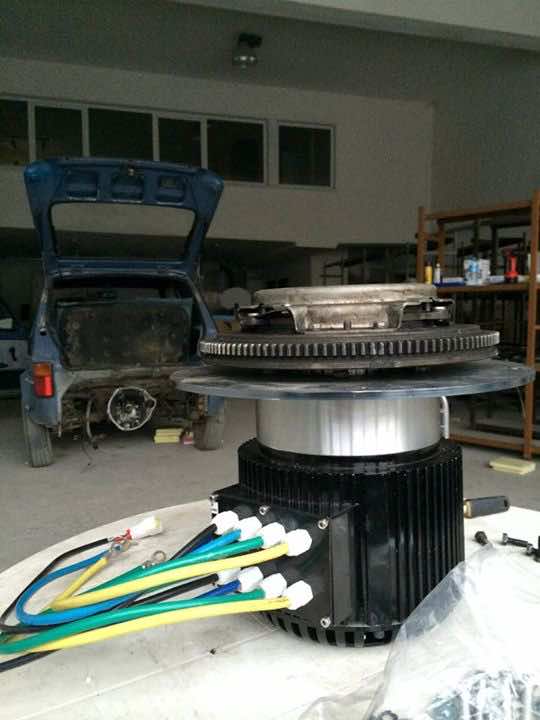
Testing of engine and control unit commences.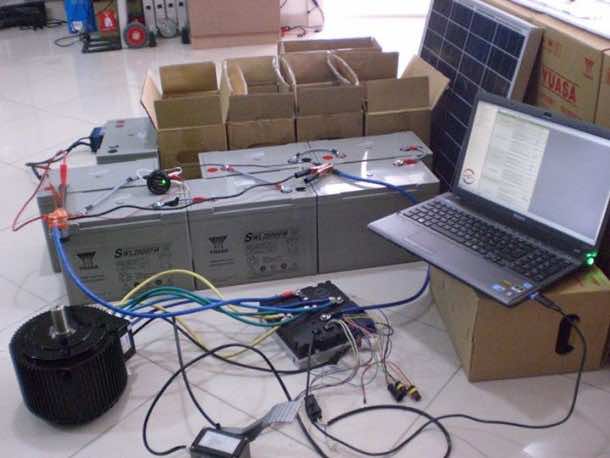
One of the indicators, purchased from eBay that will be installed on the car.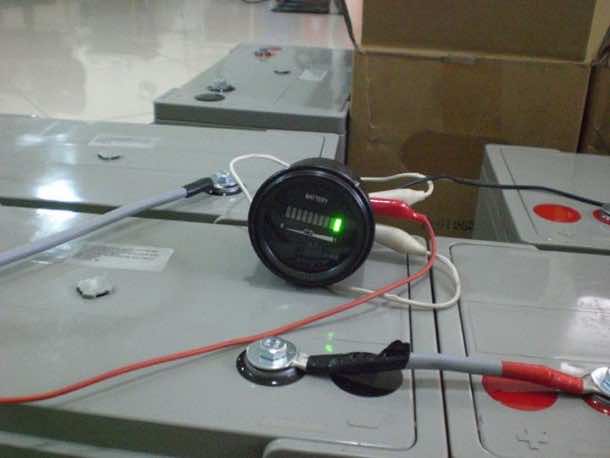
Installing a charging socket to where the fuel tank was.
Once he removed the fuel tank, he realized that the gearbox was being kept in place because of fuel tank and had to incorporate a rail profile for keeping it in place.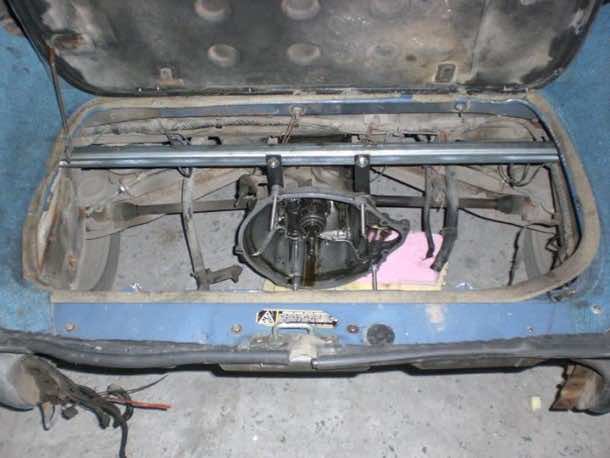
Since accumulators are quite heavy, he couldn’t just place them on the backseat floor.
He built a support for placing the accumulators.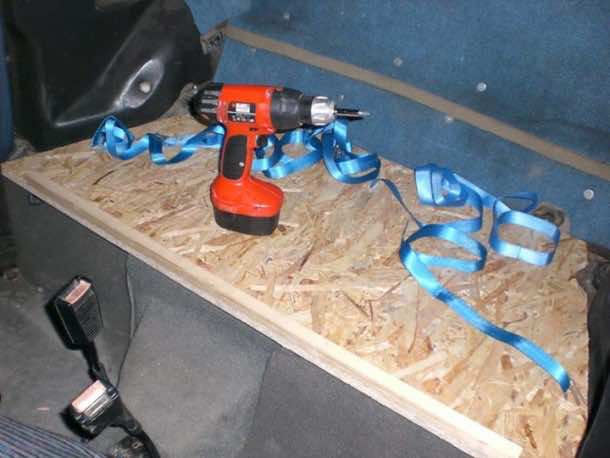
Once they were in place, he covered them using a plexy bell tape and installed a fan to cool them down.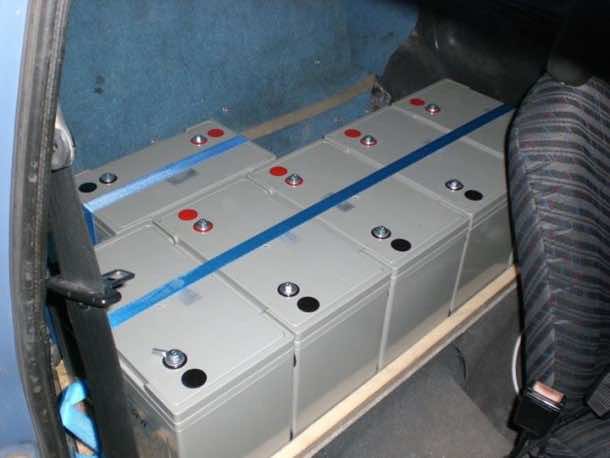
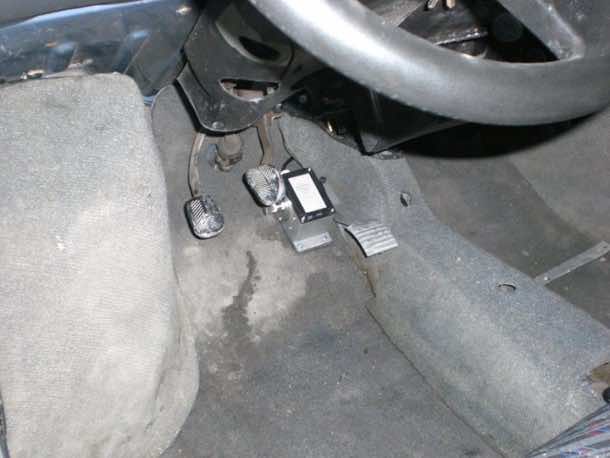
He then processed to take out the old gas pedal and had a potentiometer pedal installed.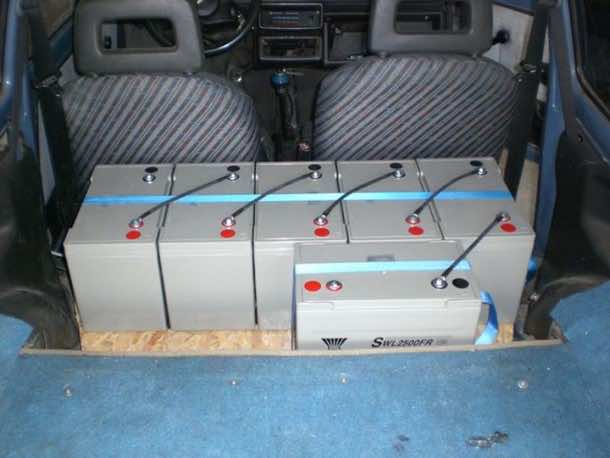
Wiring has been all set up.
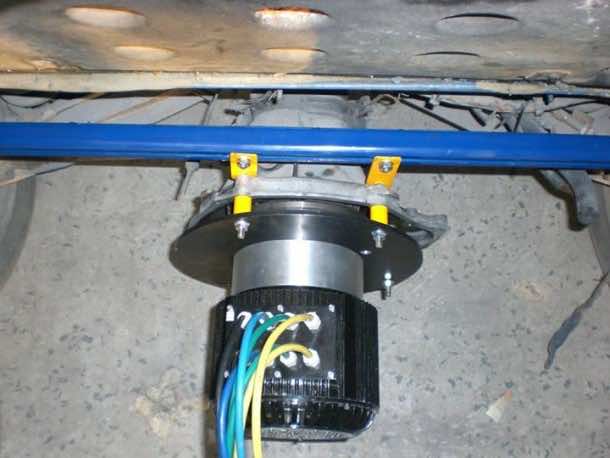
Next comes the installation of electric motor at its correct place.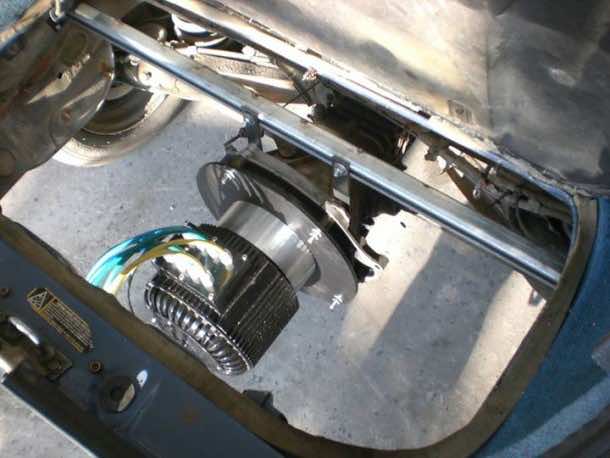
Theoretically, everything should work fine now.
First test video follows

Flywheel was making the car heavy and thus slow, this led our designer to shrink it down by making use of turning machine.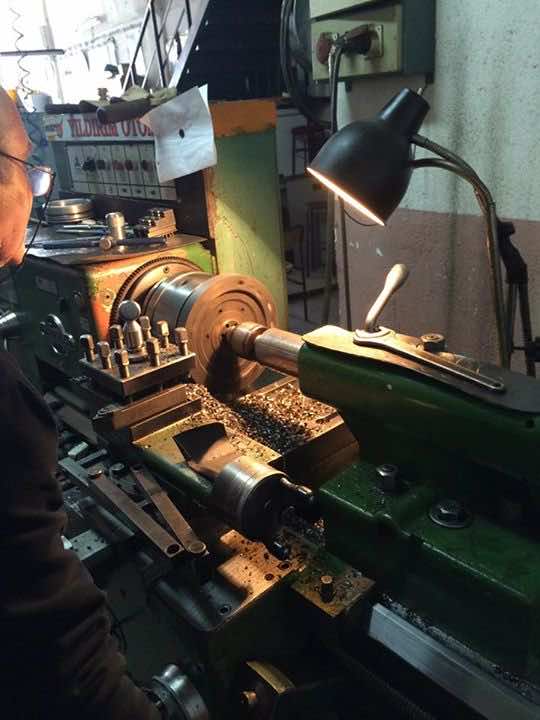
This is the end result after a few minor adjustments.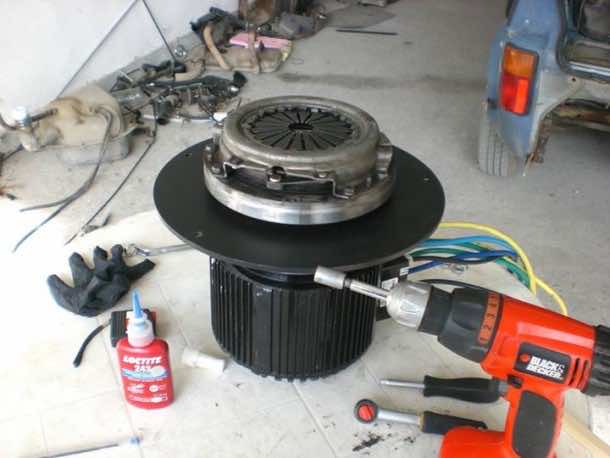
He designed and then cut the front-panel to install the indicators.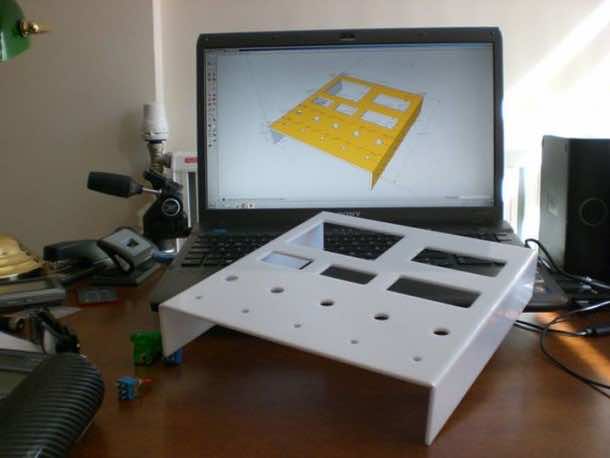
Installing the front panel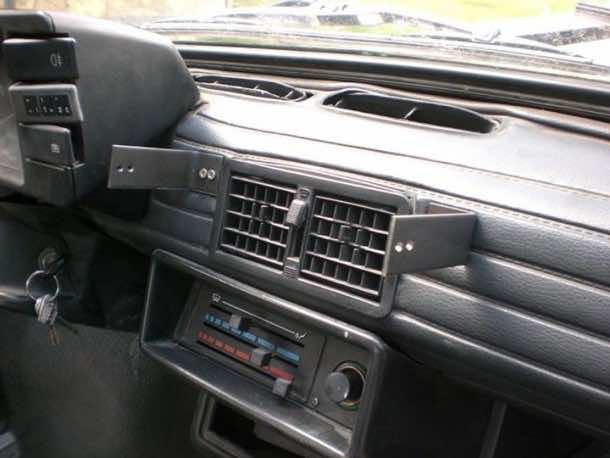
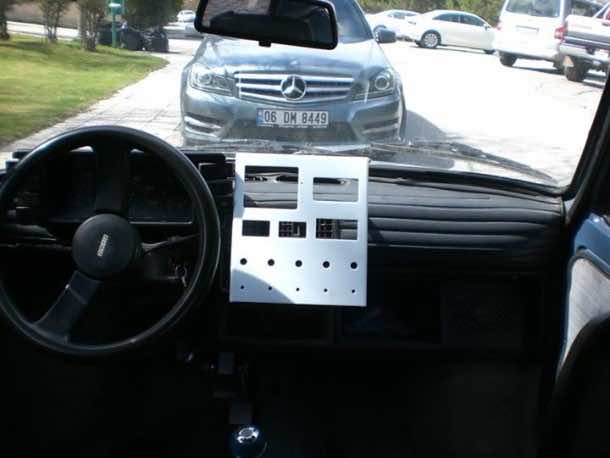
Front panel all set up.
The front panel functioning.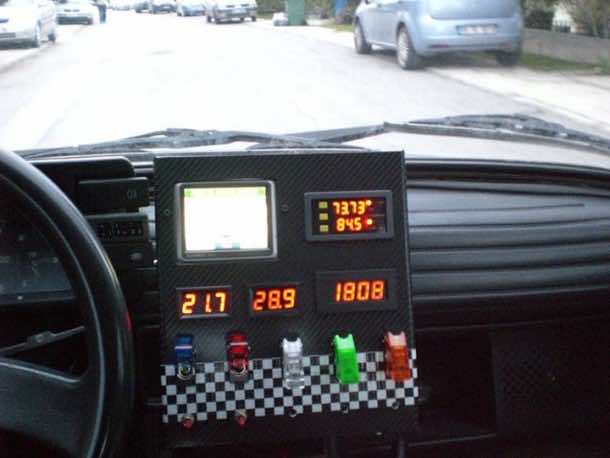
Cutting a piece of plexy for covering the accumulators.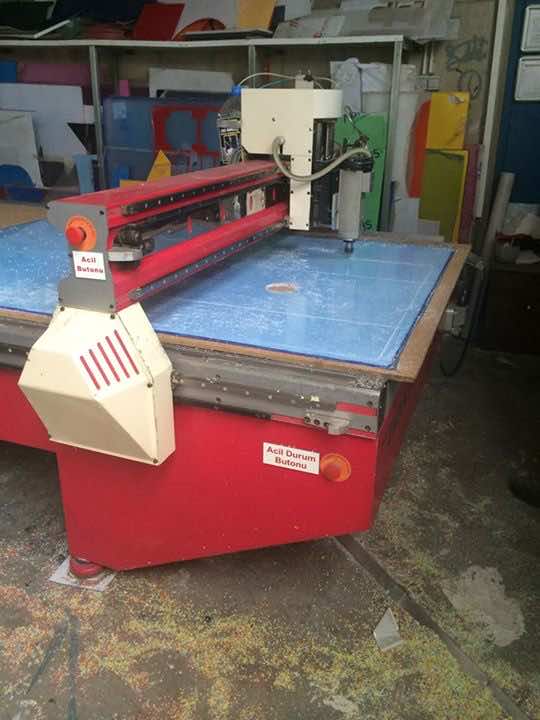
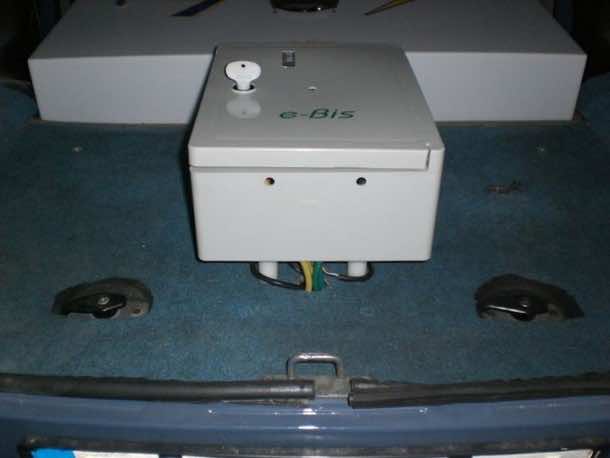
He combined all of the electronic pieces in a nice looking box.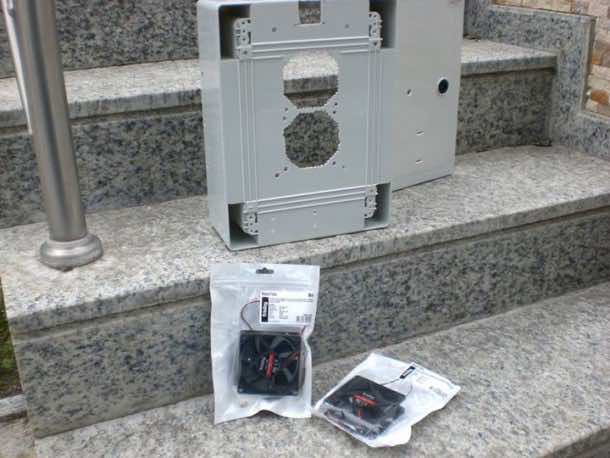
Installed a fan at the back-end so that the ESC won’t get too hot.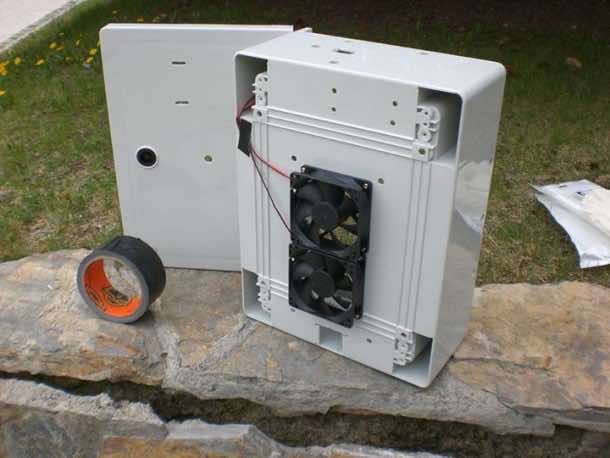
Installed the box a little higher so the fans would work properly.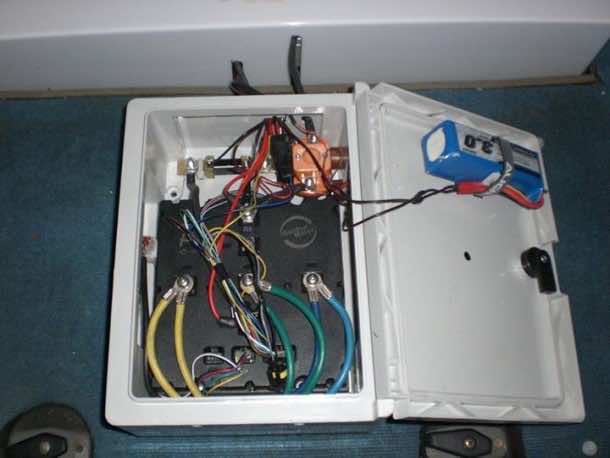
Accumulators covered with plexy.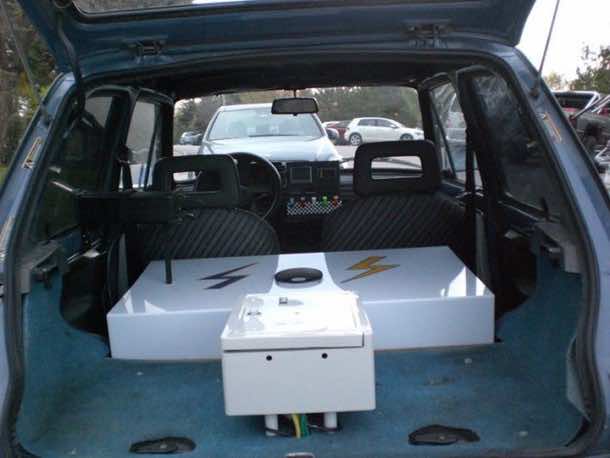
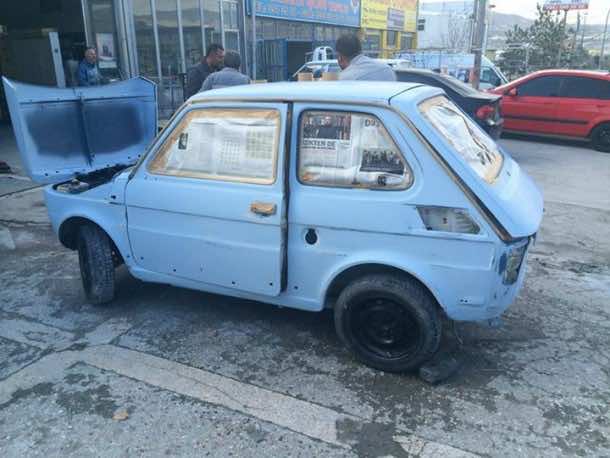
Now is the time to improve the looks.
Done! Now it’s on the road!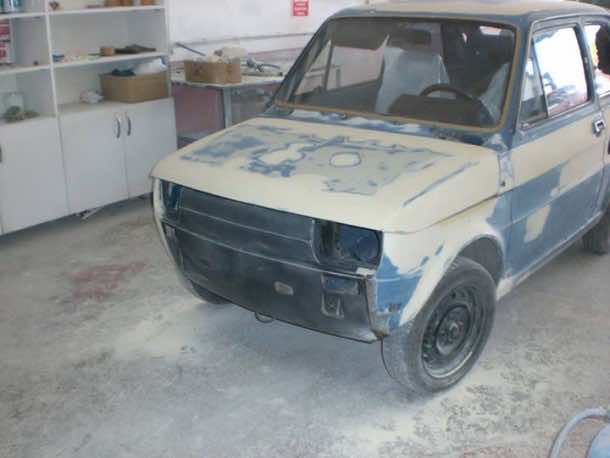
Free fuel!
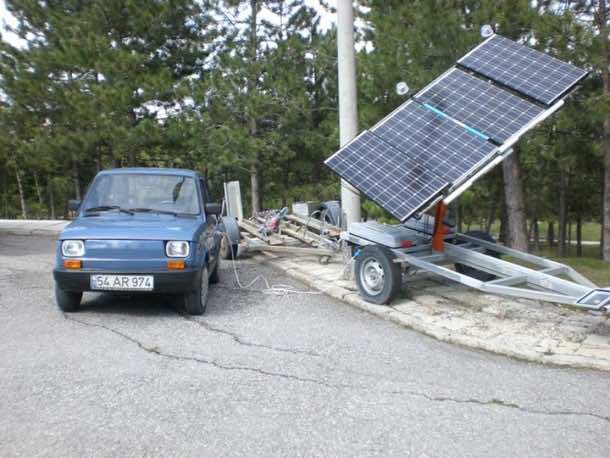
As the last touches, he installed sun panel on top.
Theoretical and practical data coincides. On sunny days, the accumulators will charge with 1 ampere.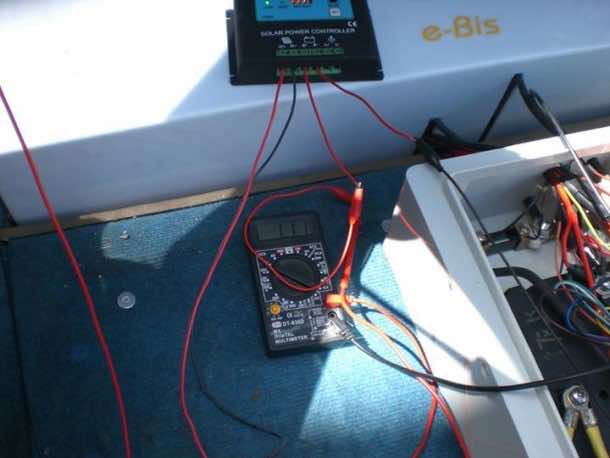
Completed.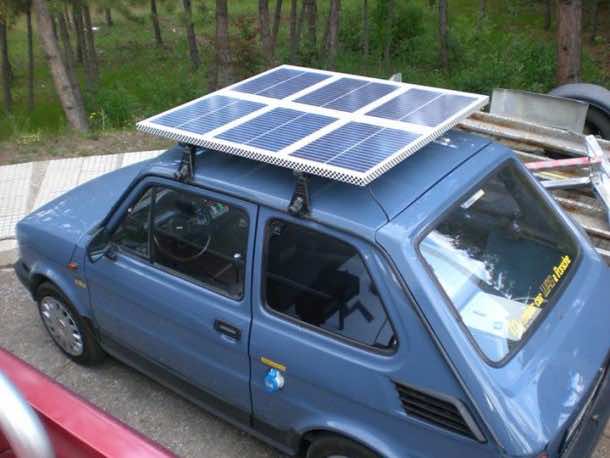
Here is a video of this vehicle in action:
Did you like this build? Now check out how one guy converted his old car into a super car using car putty!