
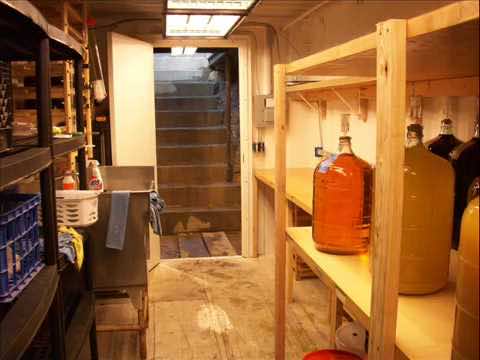
Having the perfect storage basement outside your home is a dream for many, but basements require a lot RCC handling that is just too much for many of us. But, there are other ways of making a basement that don’t require investing so much time and money. For example, a shipping container can be used to make the perfect basement too. This guy took a simple 20-feet container and used his engineering skills to make a superb cellar outside his house. The neighbours were definitely annoyed with his constant digging and work, but when it was finished, it turned out to be an amazing job.
So, let’s check out the attributes of the project:
1. Total cost (if you can do a big part of the labor and hire a tractor: ~12,500 USD)
2. Supplies needed include Rebar, L-beams, Concrete, basic tools and of course, a good leak-proof container.
Construction:
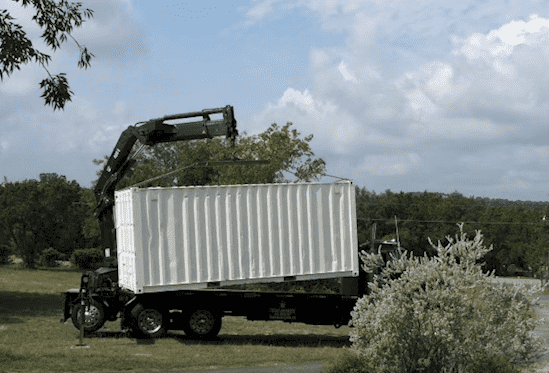
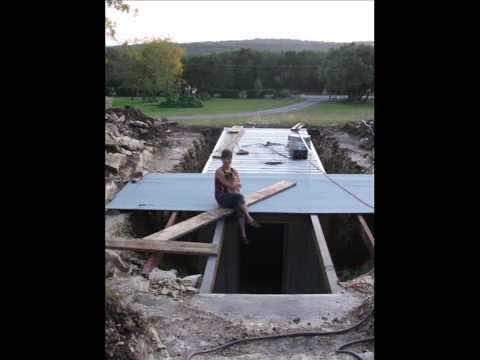
Here is the container he used for the construction of the cellar


He boarded up the large front doors that swing outwards. He instead plans to install an inwards door at the opposite end.
He dug a hole 2 feet deeper than the height of the container.
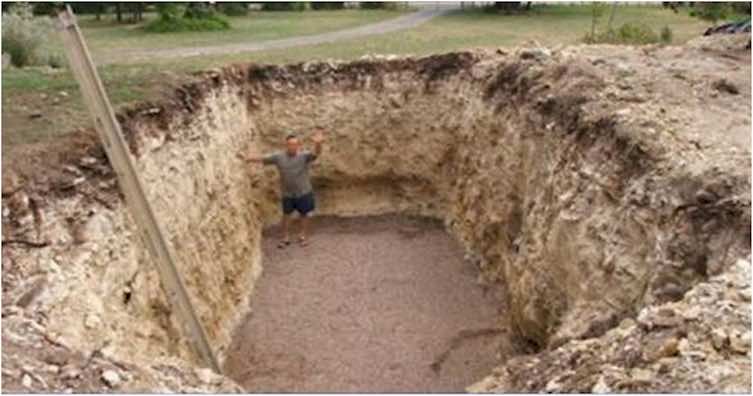

To avoid it sinking, and accumulating moisture, he filled six inches with peat and gravel and levelled the whole from the inside.
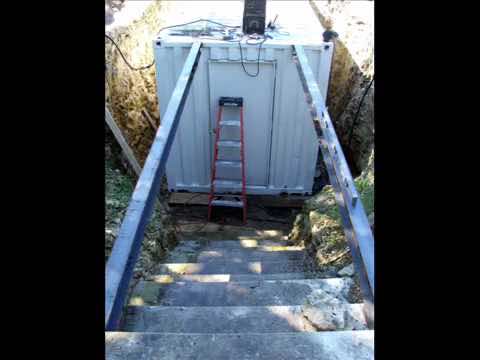
Now he hired a septic tank company to haul the container into the hole.

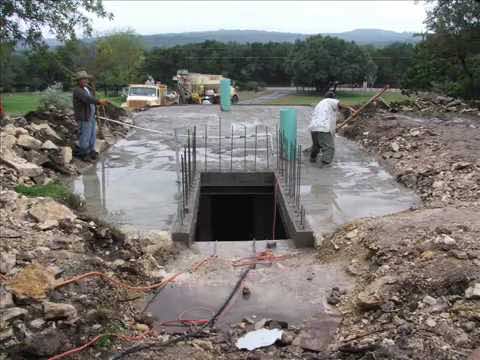
Once it is in place, he began to dig a smaller hole inside the main cavity for storing a 3-gallon perforated plastic bucket for a sump pump. Now he begins building the steps. The top of which will be in level with the container.


He now cuts the banks of the container evenly. He set 1-foot minimum. Now he sets two I-beams level with the container’s top on each side.

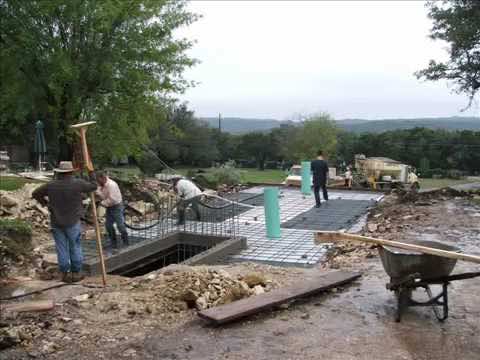
Now he gets to build supporting frameworks.
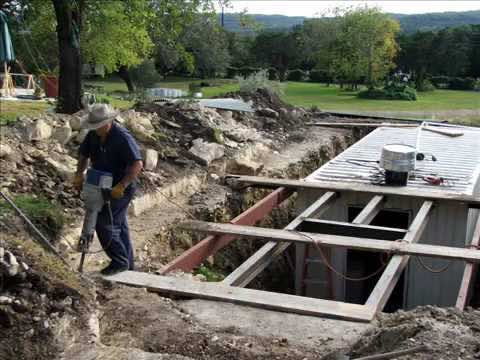

He laid heavy corrugated metal framework at the top, so it touched the bank sides.
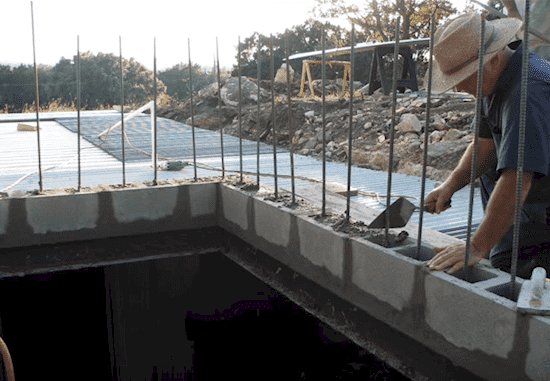
He welded rebar around the edge of the opening at equal distance, keeping in mind the blocks he will set there later.

He lays blocks and fills them up with concrete.

He set up temporary bracing for supporting the roof and the corrugated metal.

He then installed two 12-inches air vents both at the entrance and the exit.

He also put in place 2 inch PVC studs for connecting utilities.
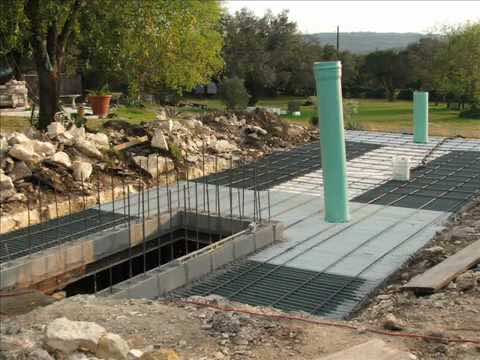


Now he gets to pour concrete on the structure. He poured and levelled, till the concrete was 6 inches deep.

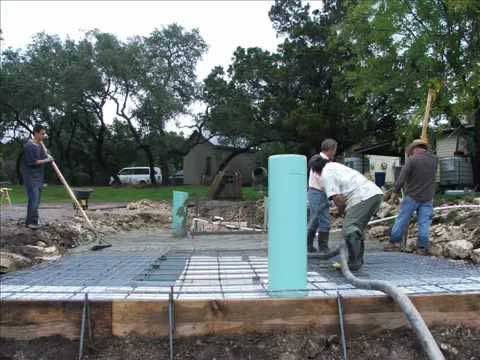
He continues placing blocks till the top layer was in level with the ground. Now he plans to use the remaining number of blocks for steps.Now he is backfilling with fertile soil to create space for vegetation to grow. He then proceeds to remove temporary braces.
He now ends the construction by stuccoing the walls.

Here is the complete video of the whole construction ordeal: