
Every DIY-er dreams of Raspberry Pi, however, not everyone wants to play around with the command line and begin a project from scratch. The following list of 5 projects will have you up and running in only a few clicks.
Yes, each of these projects will require a bit of a post-boot setup for configuring everything though they do have all the software that is required for getting the project off the ground ASAP.
How to Install These Projects
Before we jump onto the list, let’s take a few minutes to learn how to install these projects. You will have to clone the images onto an SD card and insert the card into the Raspberry Pi. The process is the same for all.
Windows
- You will have to download the IMG file from the project you intend to make.
- Download Win32DiskImager as the second step.
- Using a card reader, insert the SD card into your Windows PC.
- Open Win32DiskImager.exe from step 2.
- If the application doesn’t detect the SD card on its own, click on the drop-down menu at the top right (named ‘Device’) and then select it from the list.
- Now go to the image file section of the app and click on the folder icon followed by selecting the IMG file that you downloaded.
- Now click on the ‘Write’ button and wait for Win32DiskIMager to complete the task. Once it completes writing onto the SD card, remove the card from your PC and insert it into the Raspberry Pi.
OS X
- Begin by downloading the IMG file from the project you intend to make.
- Download RPi-sd card builder and unzip the application.
- Insert your SD card into your Mac using a card reader.
- Open RPi-sd card builder and select the image file that you downloaded.
- You will be asked if the SD card is connected, click on Continue and then select the SD card you wish to use.
- Enter your administrator password and click OK.
- You will be asked if the SD card has been ejected, this is supposed to happen since the app requires to unmount the card to execute a direct copy. DO NO remove it from the USB port and double-check that it is no longer available in Finder. Once you’ve done that, click on Continue.
- Once RPi-sd card builder finishes prepping your SD card, insert it into your Raspberry Pi unit.
5. Turn Your Raspberry Pi into an AirPlay Speaker 

Although the project isn’t very hard, it does require quite a lot of work with the command line in order to get it to work in a proper manner. This is what led the Raspberry Pi forum member rapsberrye to create a pre-configured image, thus relieving you of the need to do any work. Just download the image, install it onto your SD card and then power up your Raspberry Pi. It will show up as an AirPlay – compatible player right away along with Watchdog for rebooting the AirPlay software in case anything goes south.
4. Make a Minecraft Server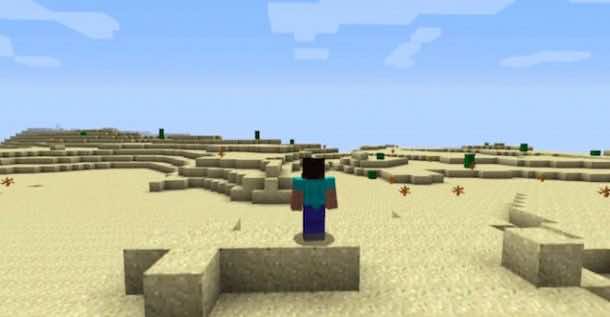

Raspberry PI makes for a great small Minecraft server, however, it is quite a hectic thing to accomplish on your own. That’s where the MinecraftPi comes in. You need only install it on an SD card and boot it up on your Raspberry Pi (make yourself an admin though) and you’re good to go! The image also takes care of overclocking your Pi from the very start.
3. Run a Private or Public WordPress Site

PressPi makes the process of transforming your Raspberry Pi into a web server effortless and places a WordPress install on the image as well. After you’ve booted up the Raspberry Pi with the PressPi image, you can log into the local version of WordPress right away. You can follow the guide on PressPi’s page for opening up your router to outside traffic (in order to take your WordPress version online for anyone to access).
2. Make a Wireless Access Point
Did you know that Raspberry Pi can make for an amazing little router or wireless access point? After setting it up, you can use it for extending your Wi-Fi network, for creating a singular access point or even make use of it for providing the guests with access to your Wi-Fi without giving them access to the whole network. You can do this all without breaking a sweat by making use of Pi-Point.
1. Set Up a Retro Game Center
If you use RetroPie image, you get access to multiple emulators. SAMBA sharing and SSH are turned on automatically and a USB daemon is also enabled for copying ROMs using a USB and it comes equipped with most of the drivers for most of the controllers. Power it up, copy your Rom collection and you are good to go!